
Page
Pages can serve as containers for blocks. They are like a canvas where you can freely place various blocks.
Page Structure
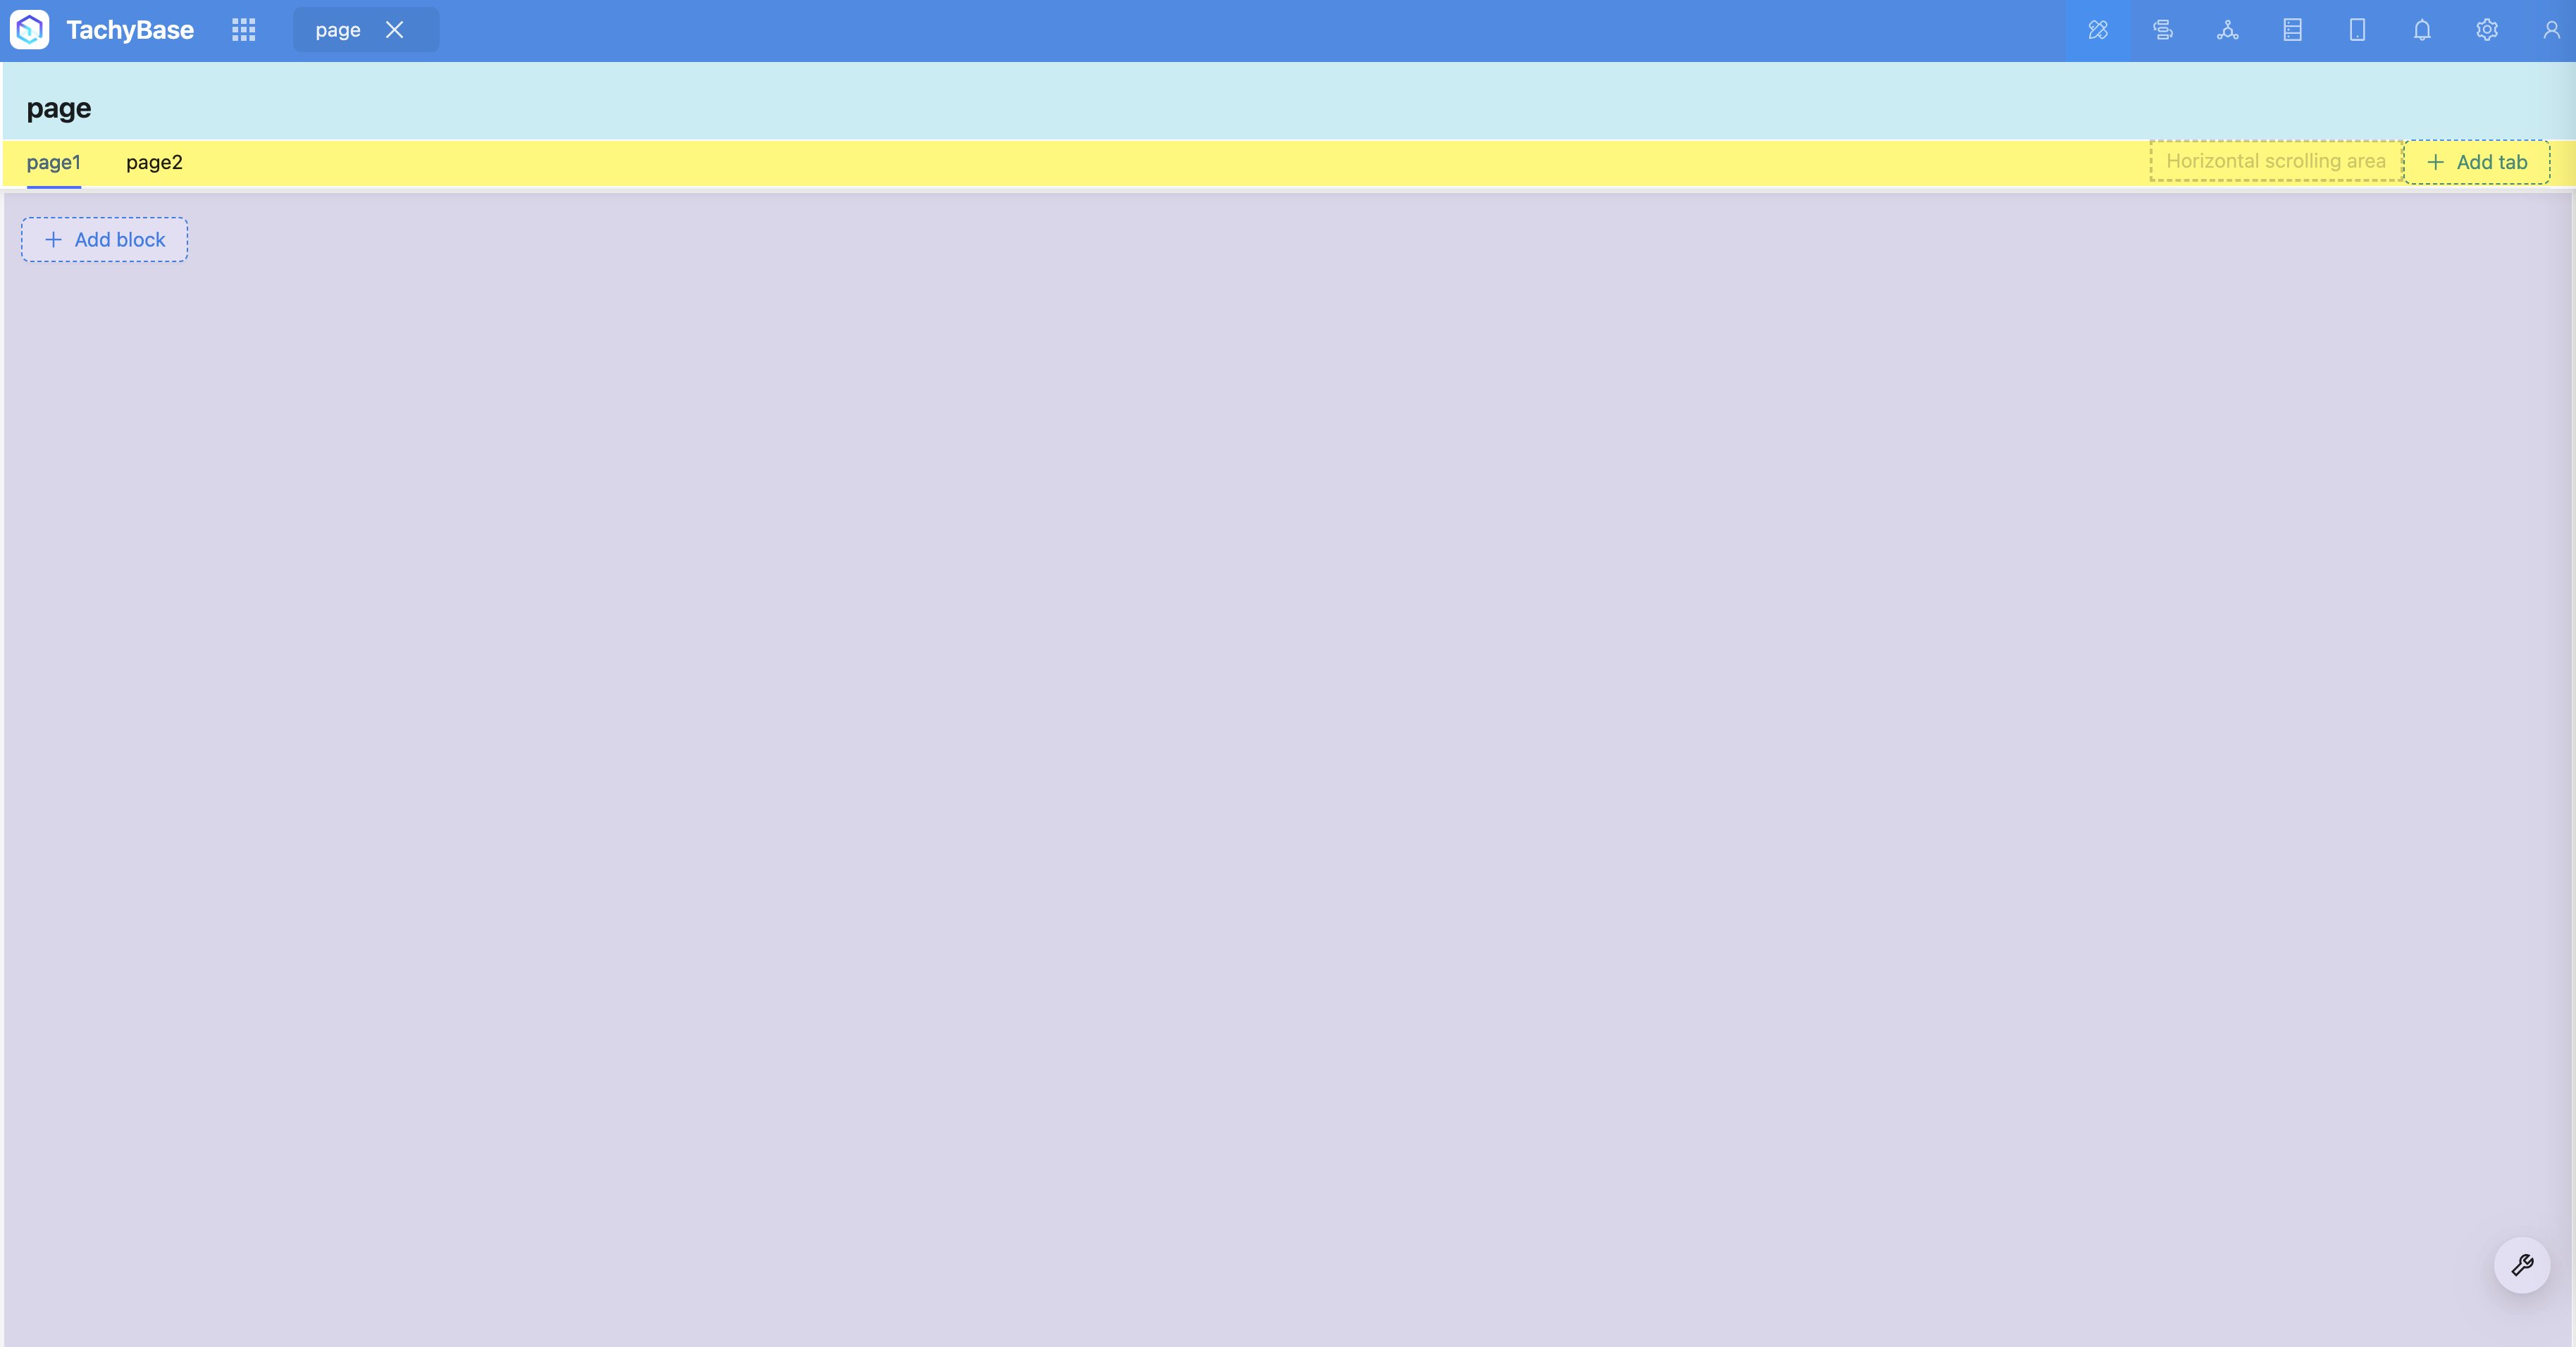
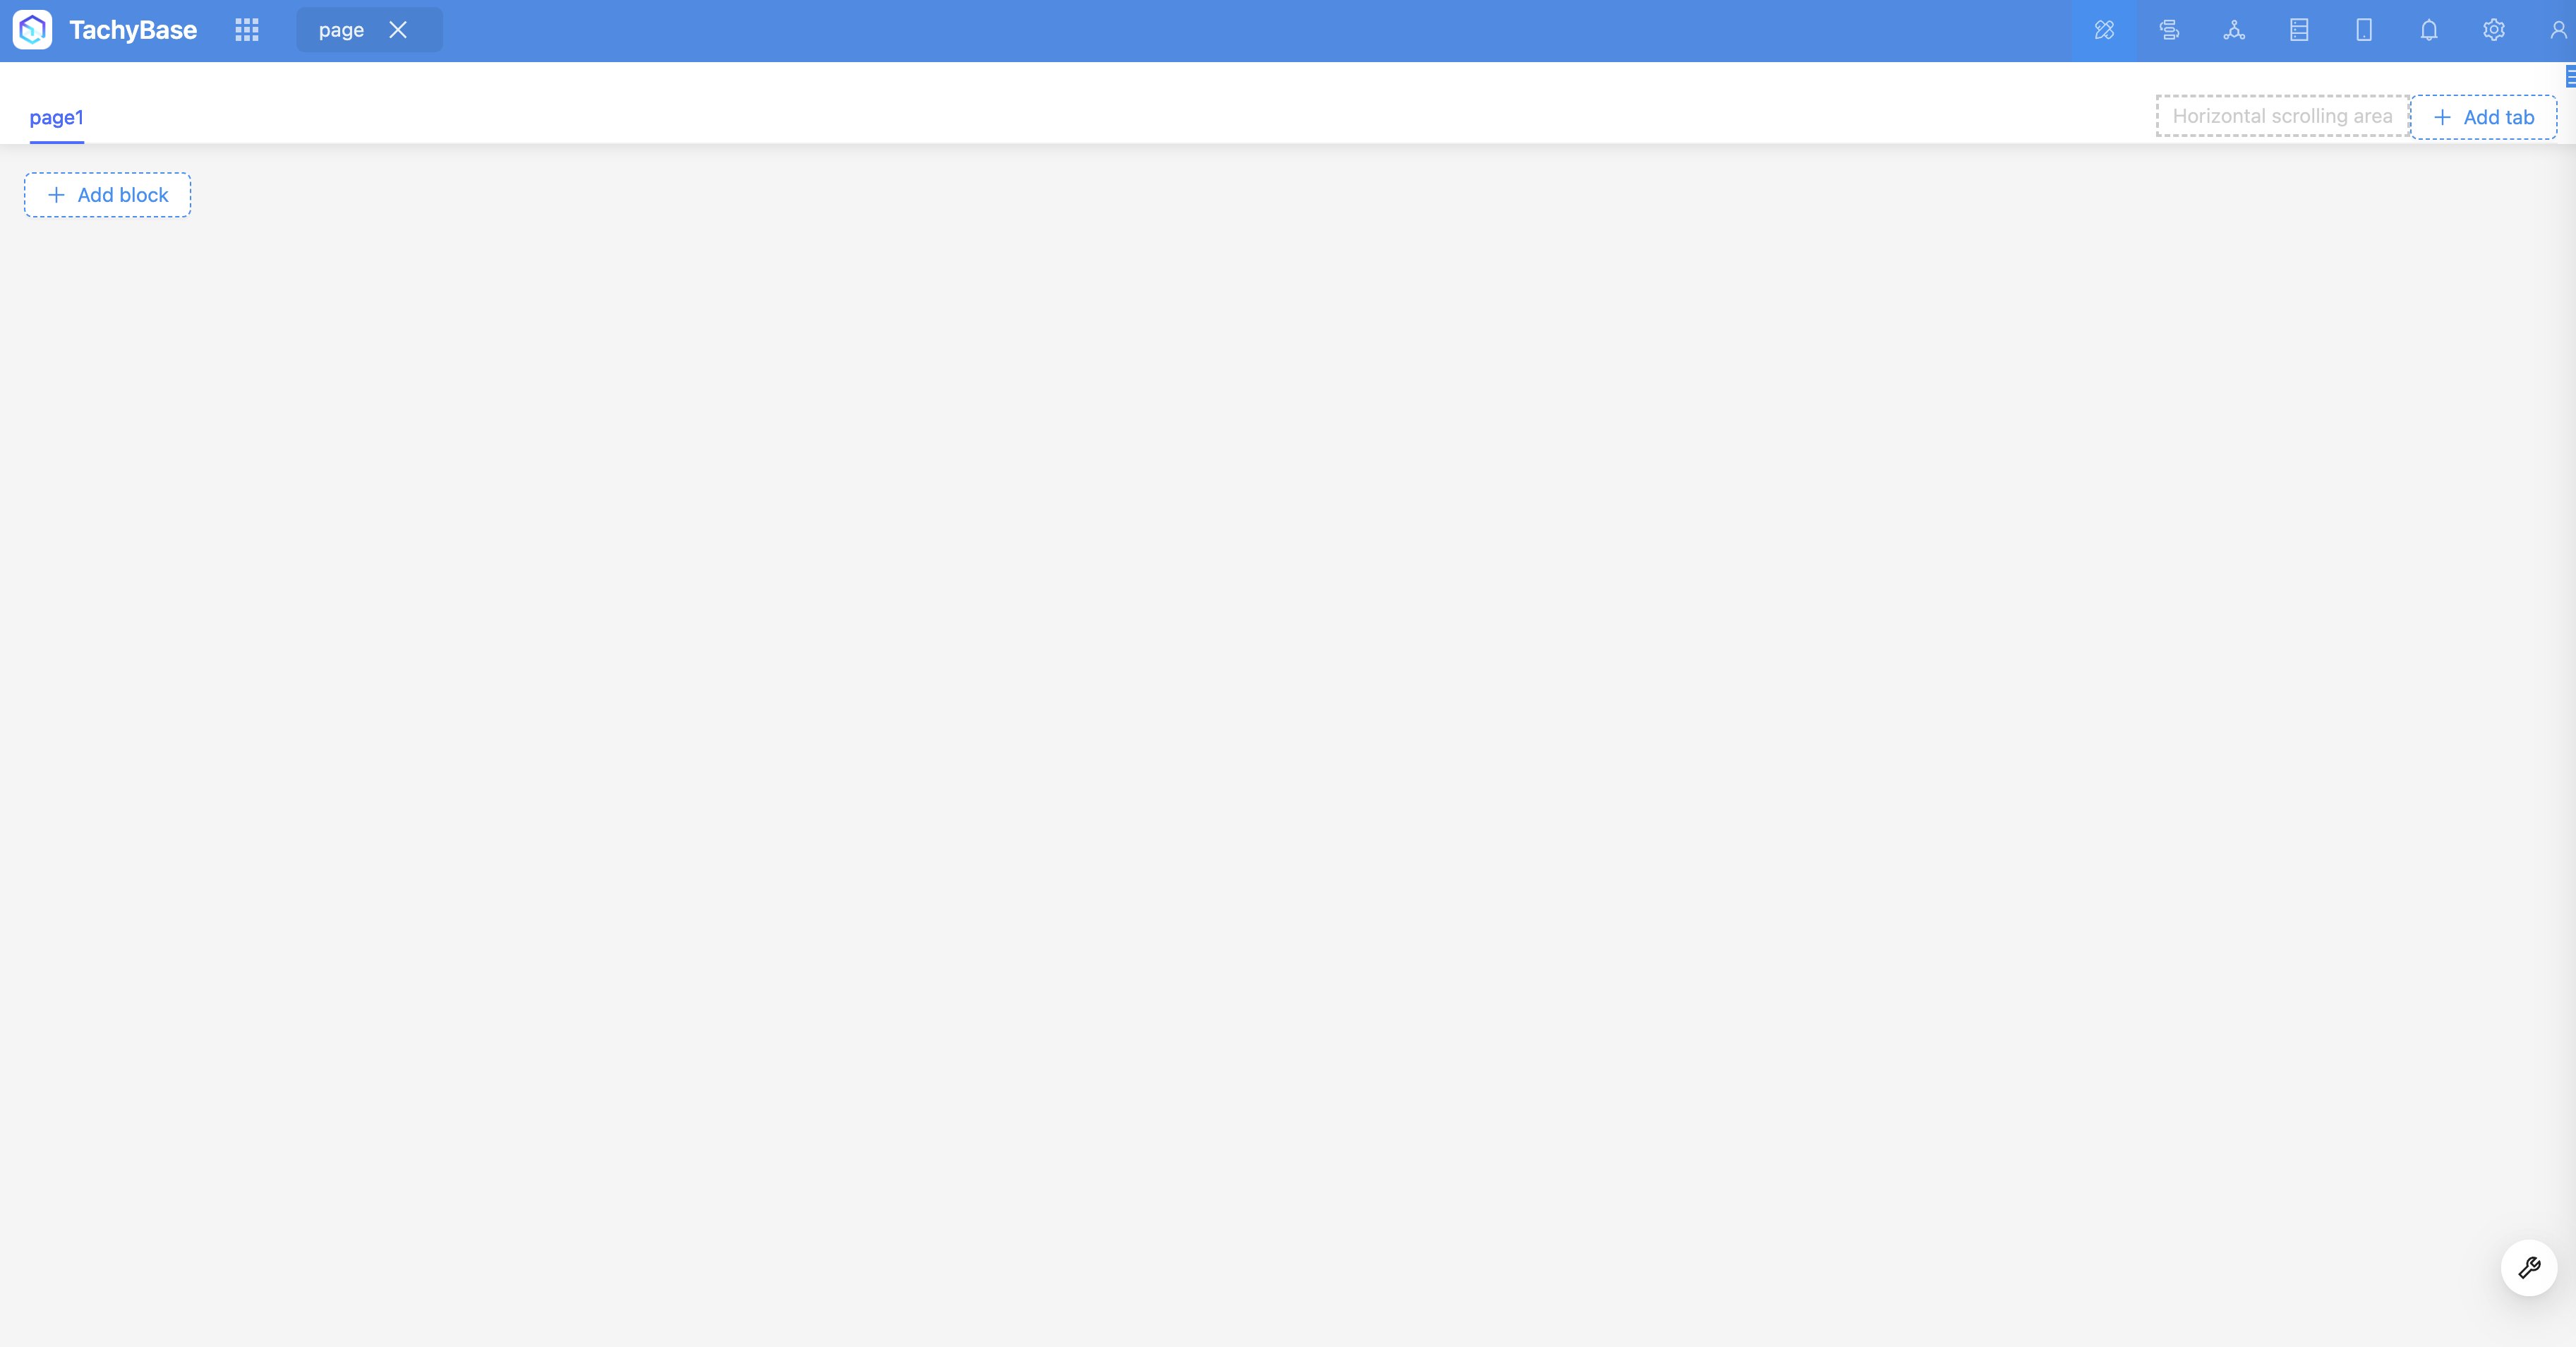
After creating a page through the Menu, you can see an empty page consists of the following two parts:
- Page Header
- Page Title
- Tabs
- Block Container
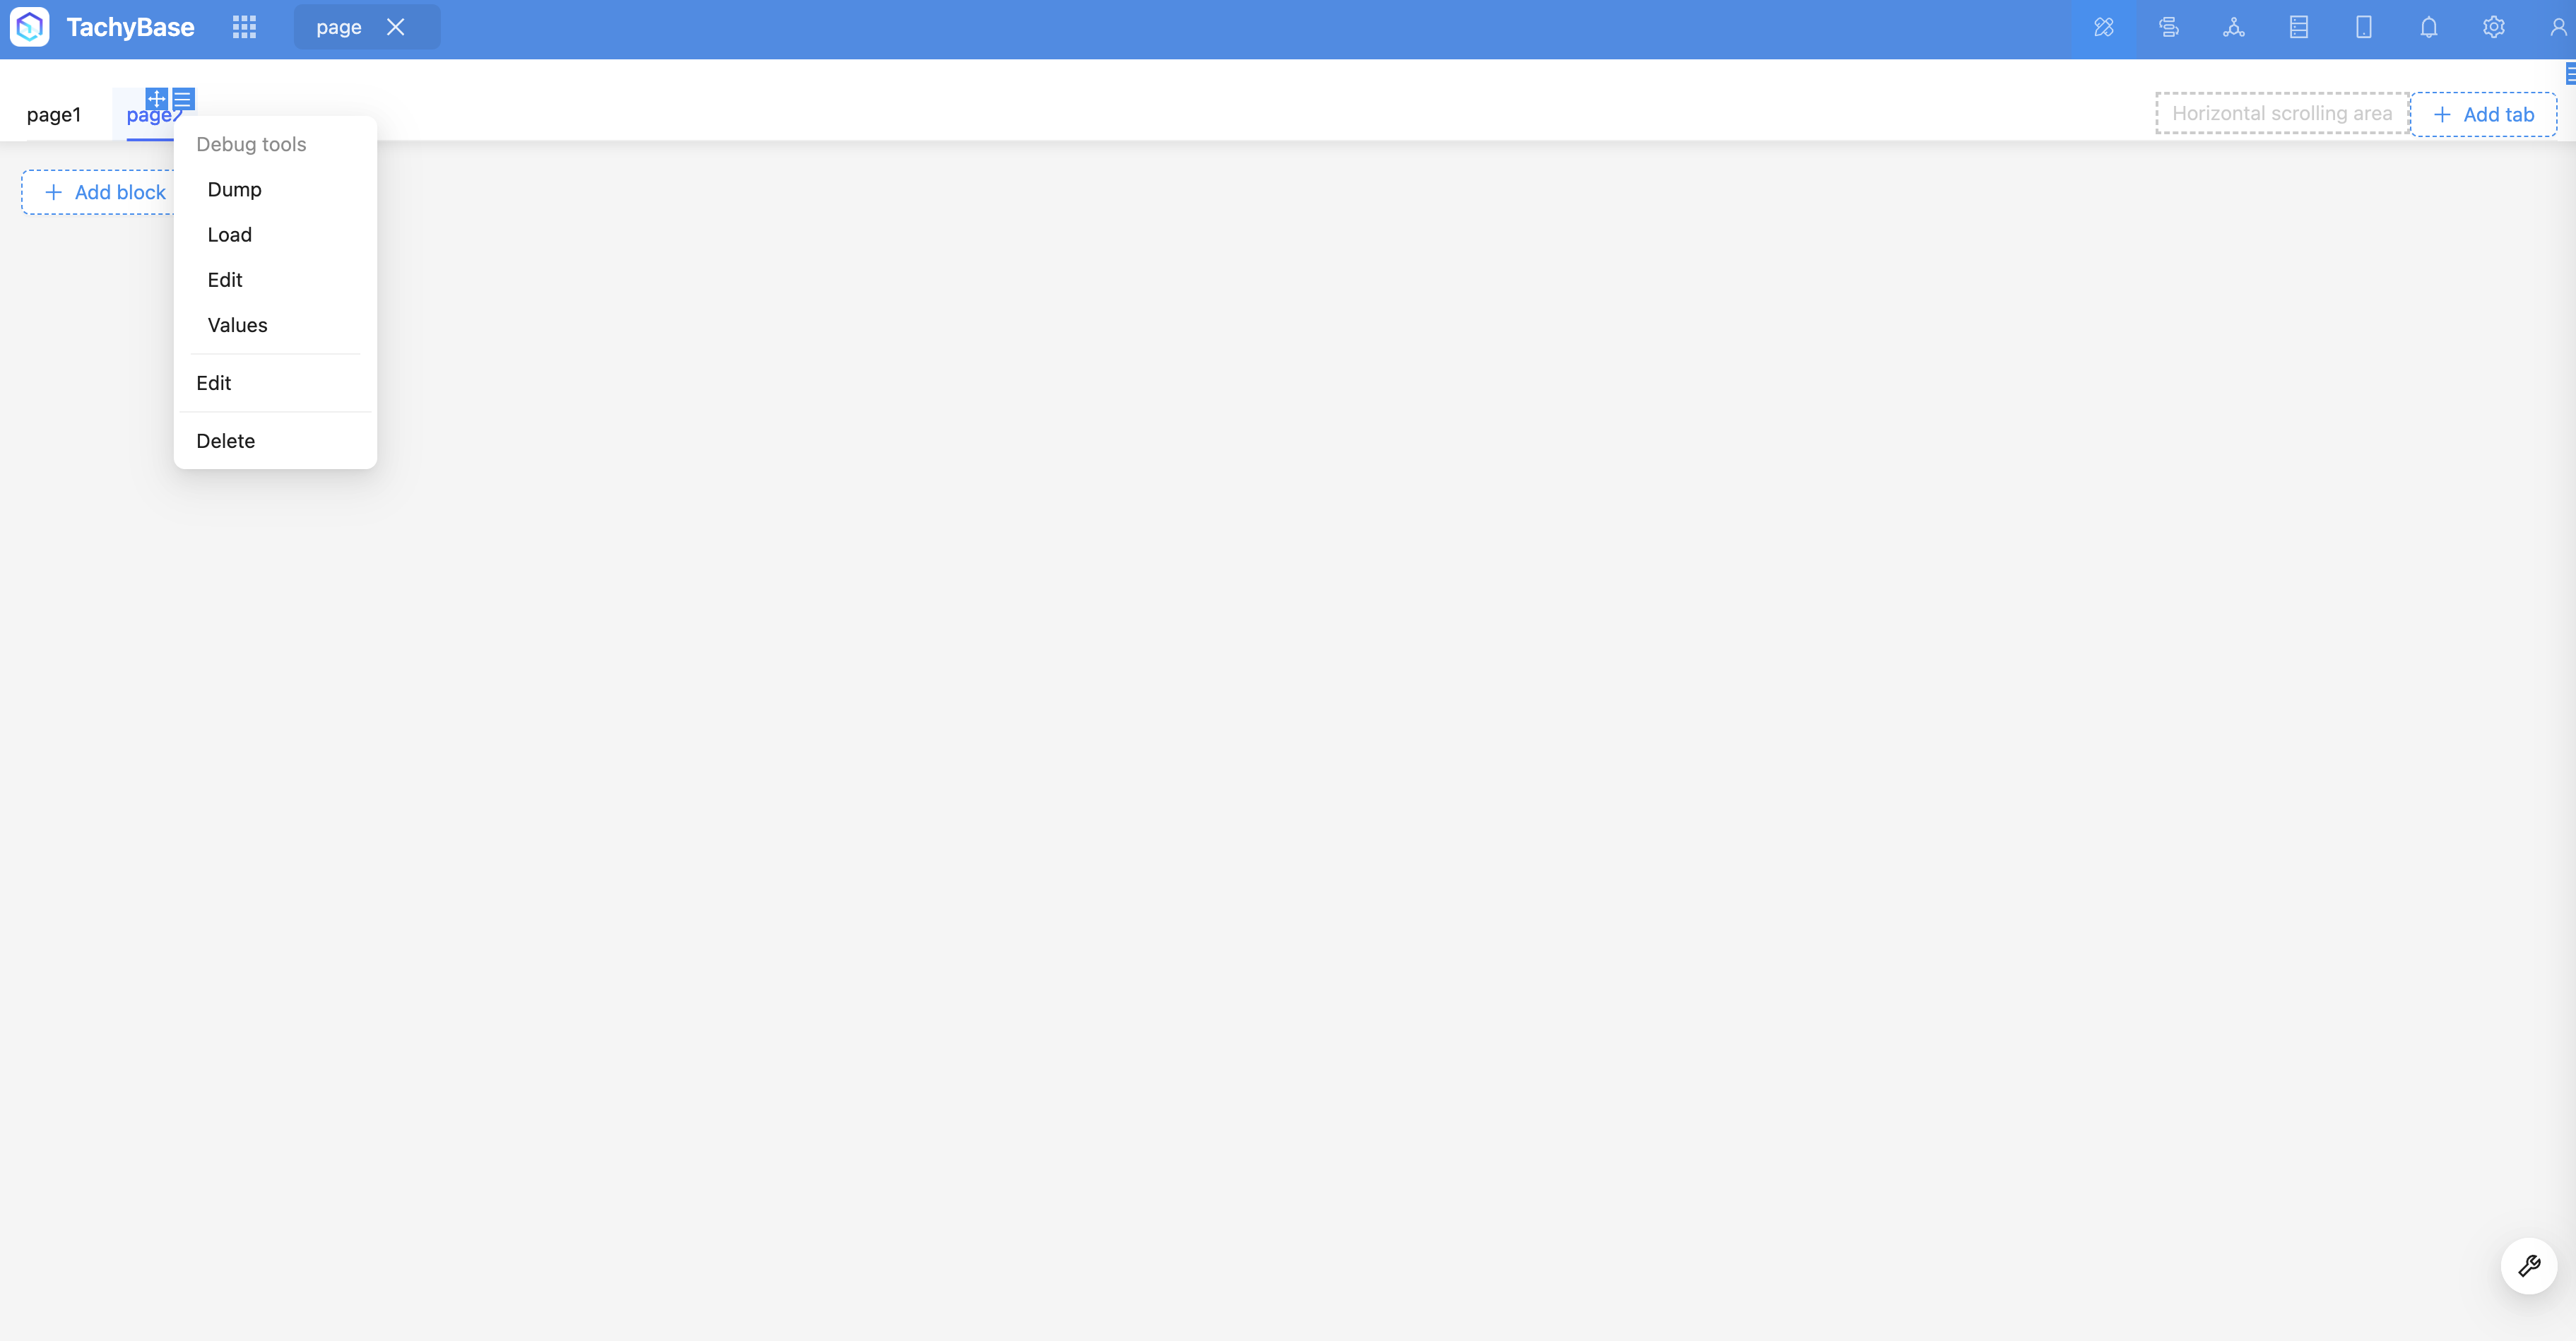
Page Settings
Hover the mouse over the configuration icon in the upper right corner of the page to see page configuration items:
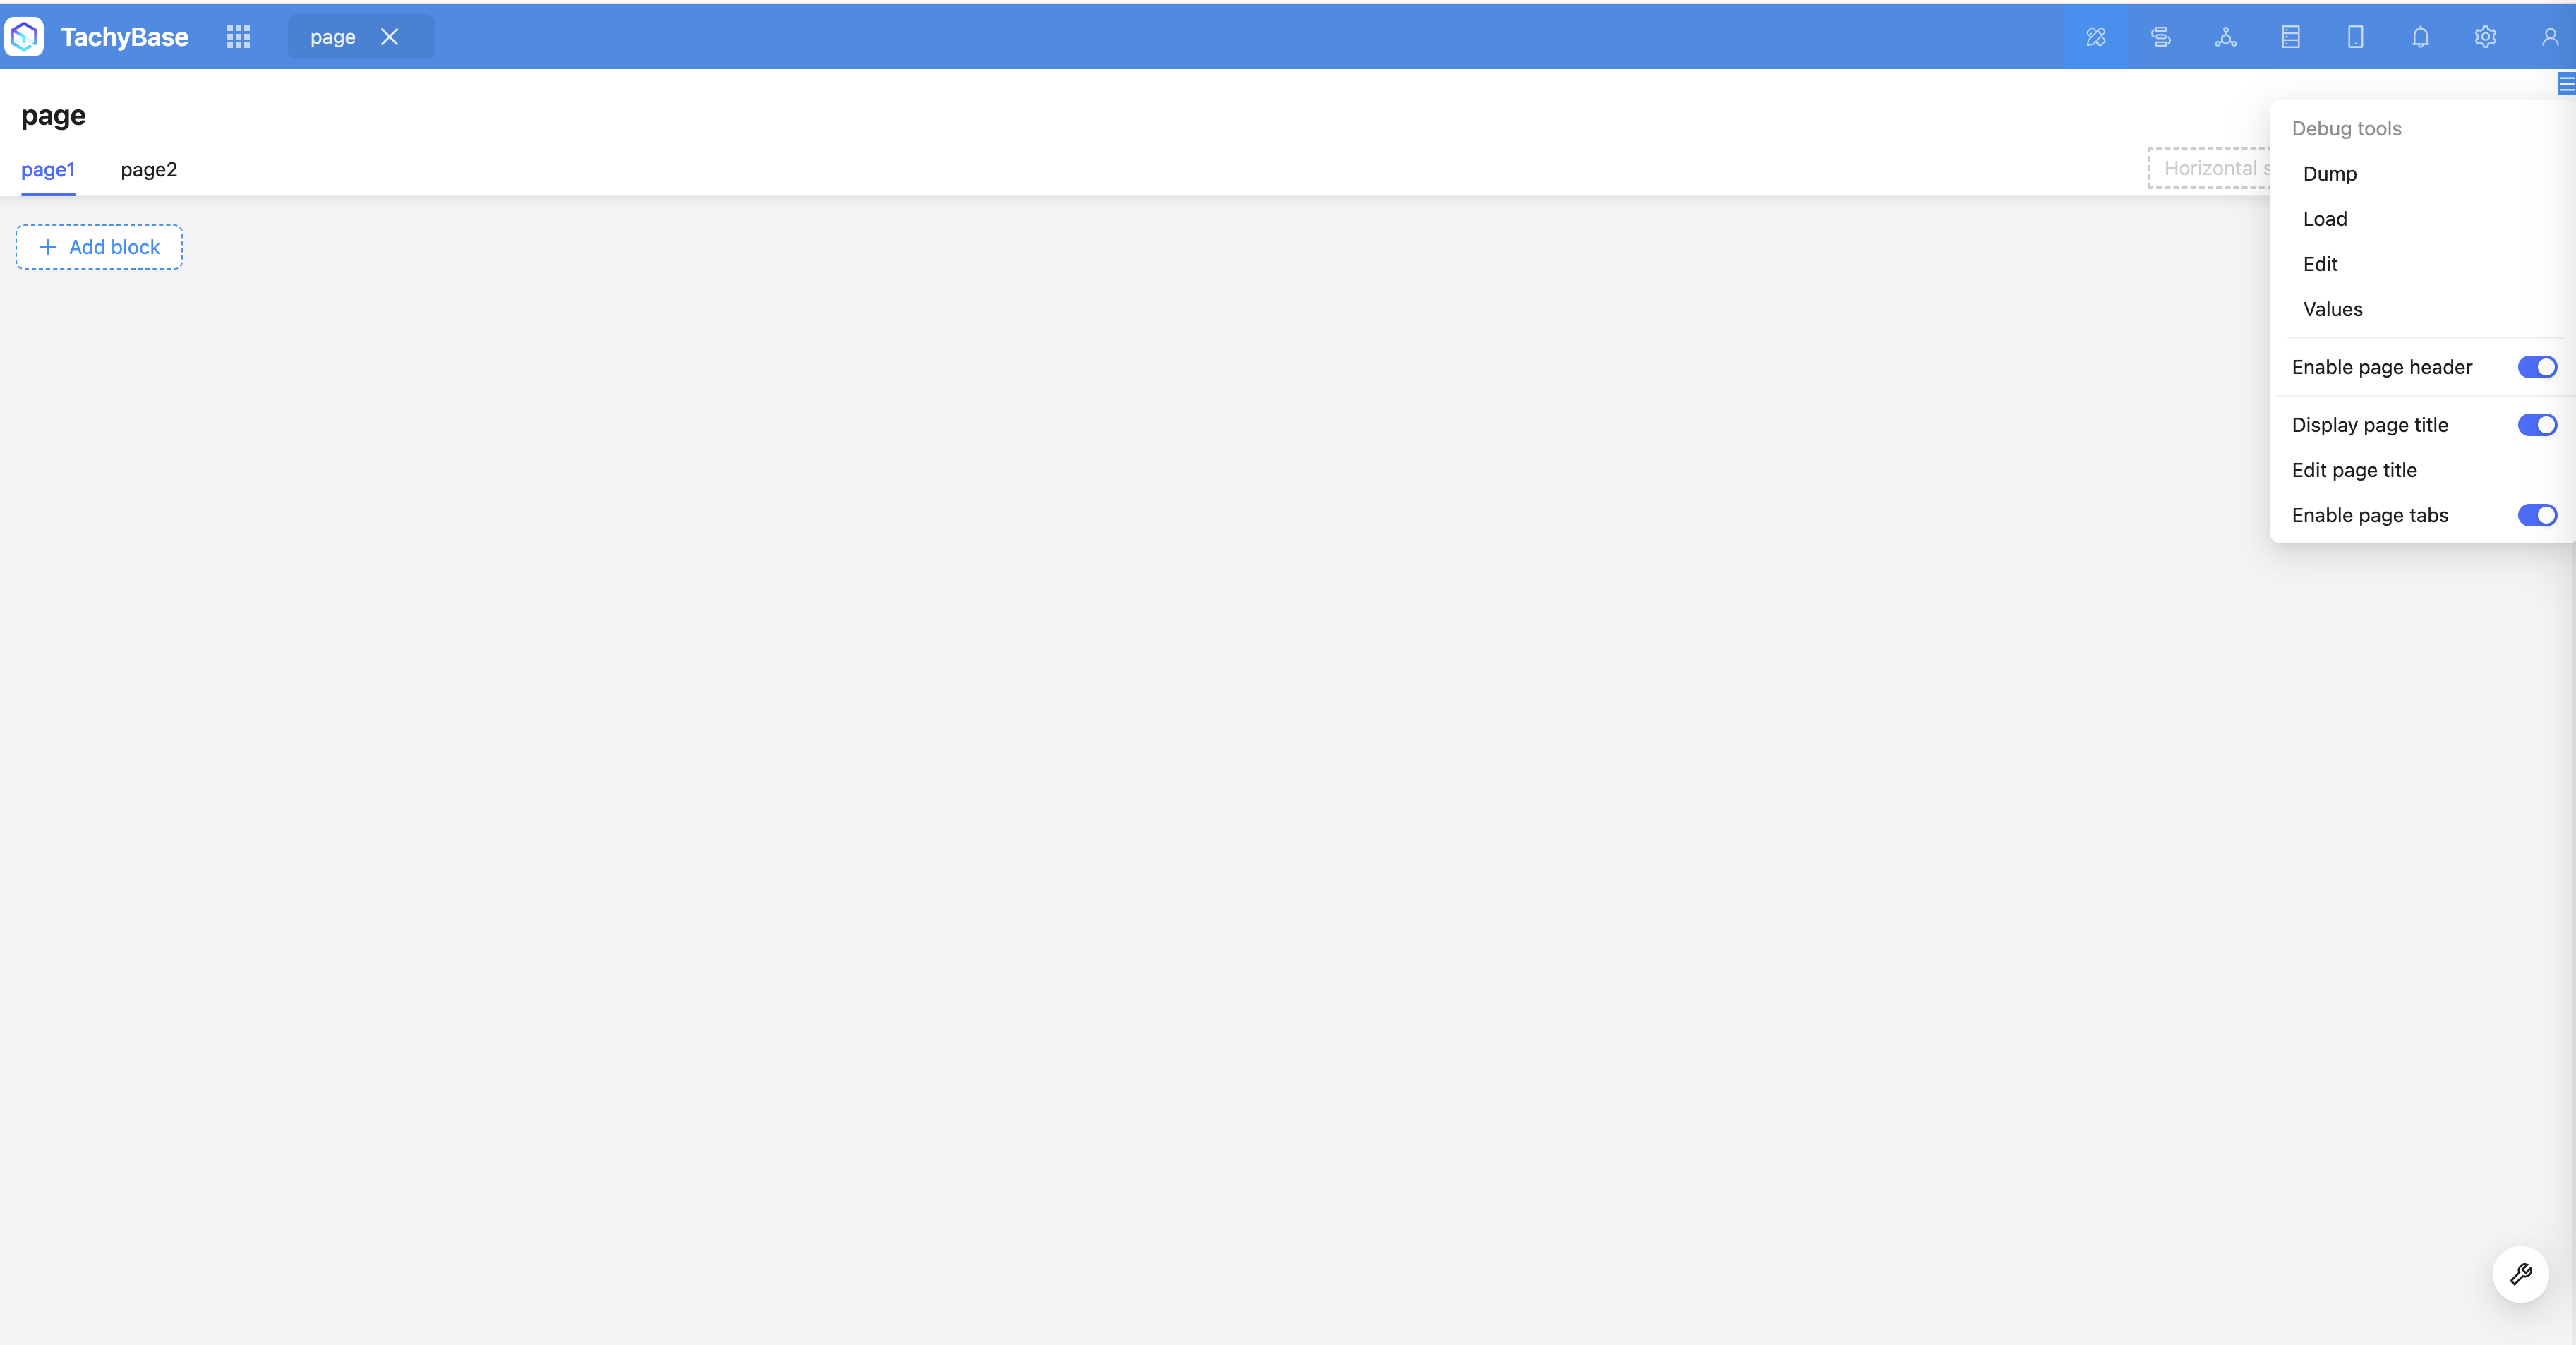
Configurable items include:
- Enable Header: Used to control whether to display the page header;
- Show Page Title: Whether to display the page title in the header;
- Edit Page Title: The default page title is the menu item title, which can be customized;
- Enable Tabs: Off by default. When enabled, multiple tabs can be added.
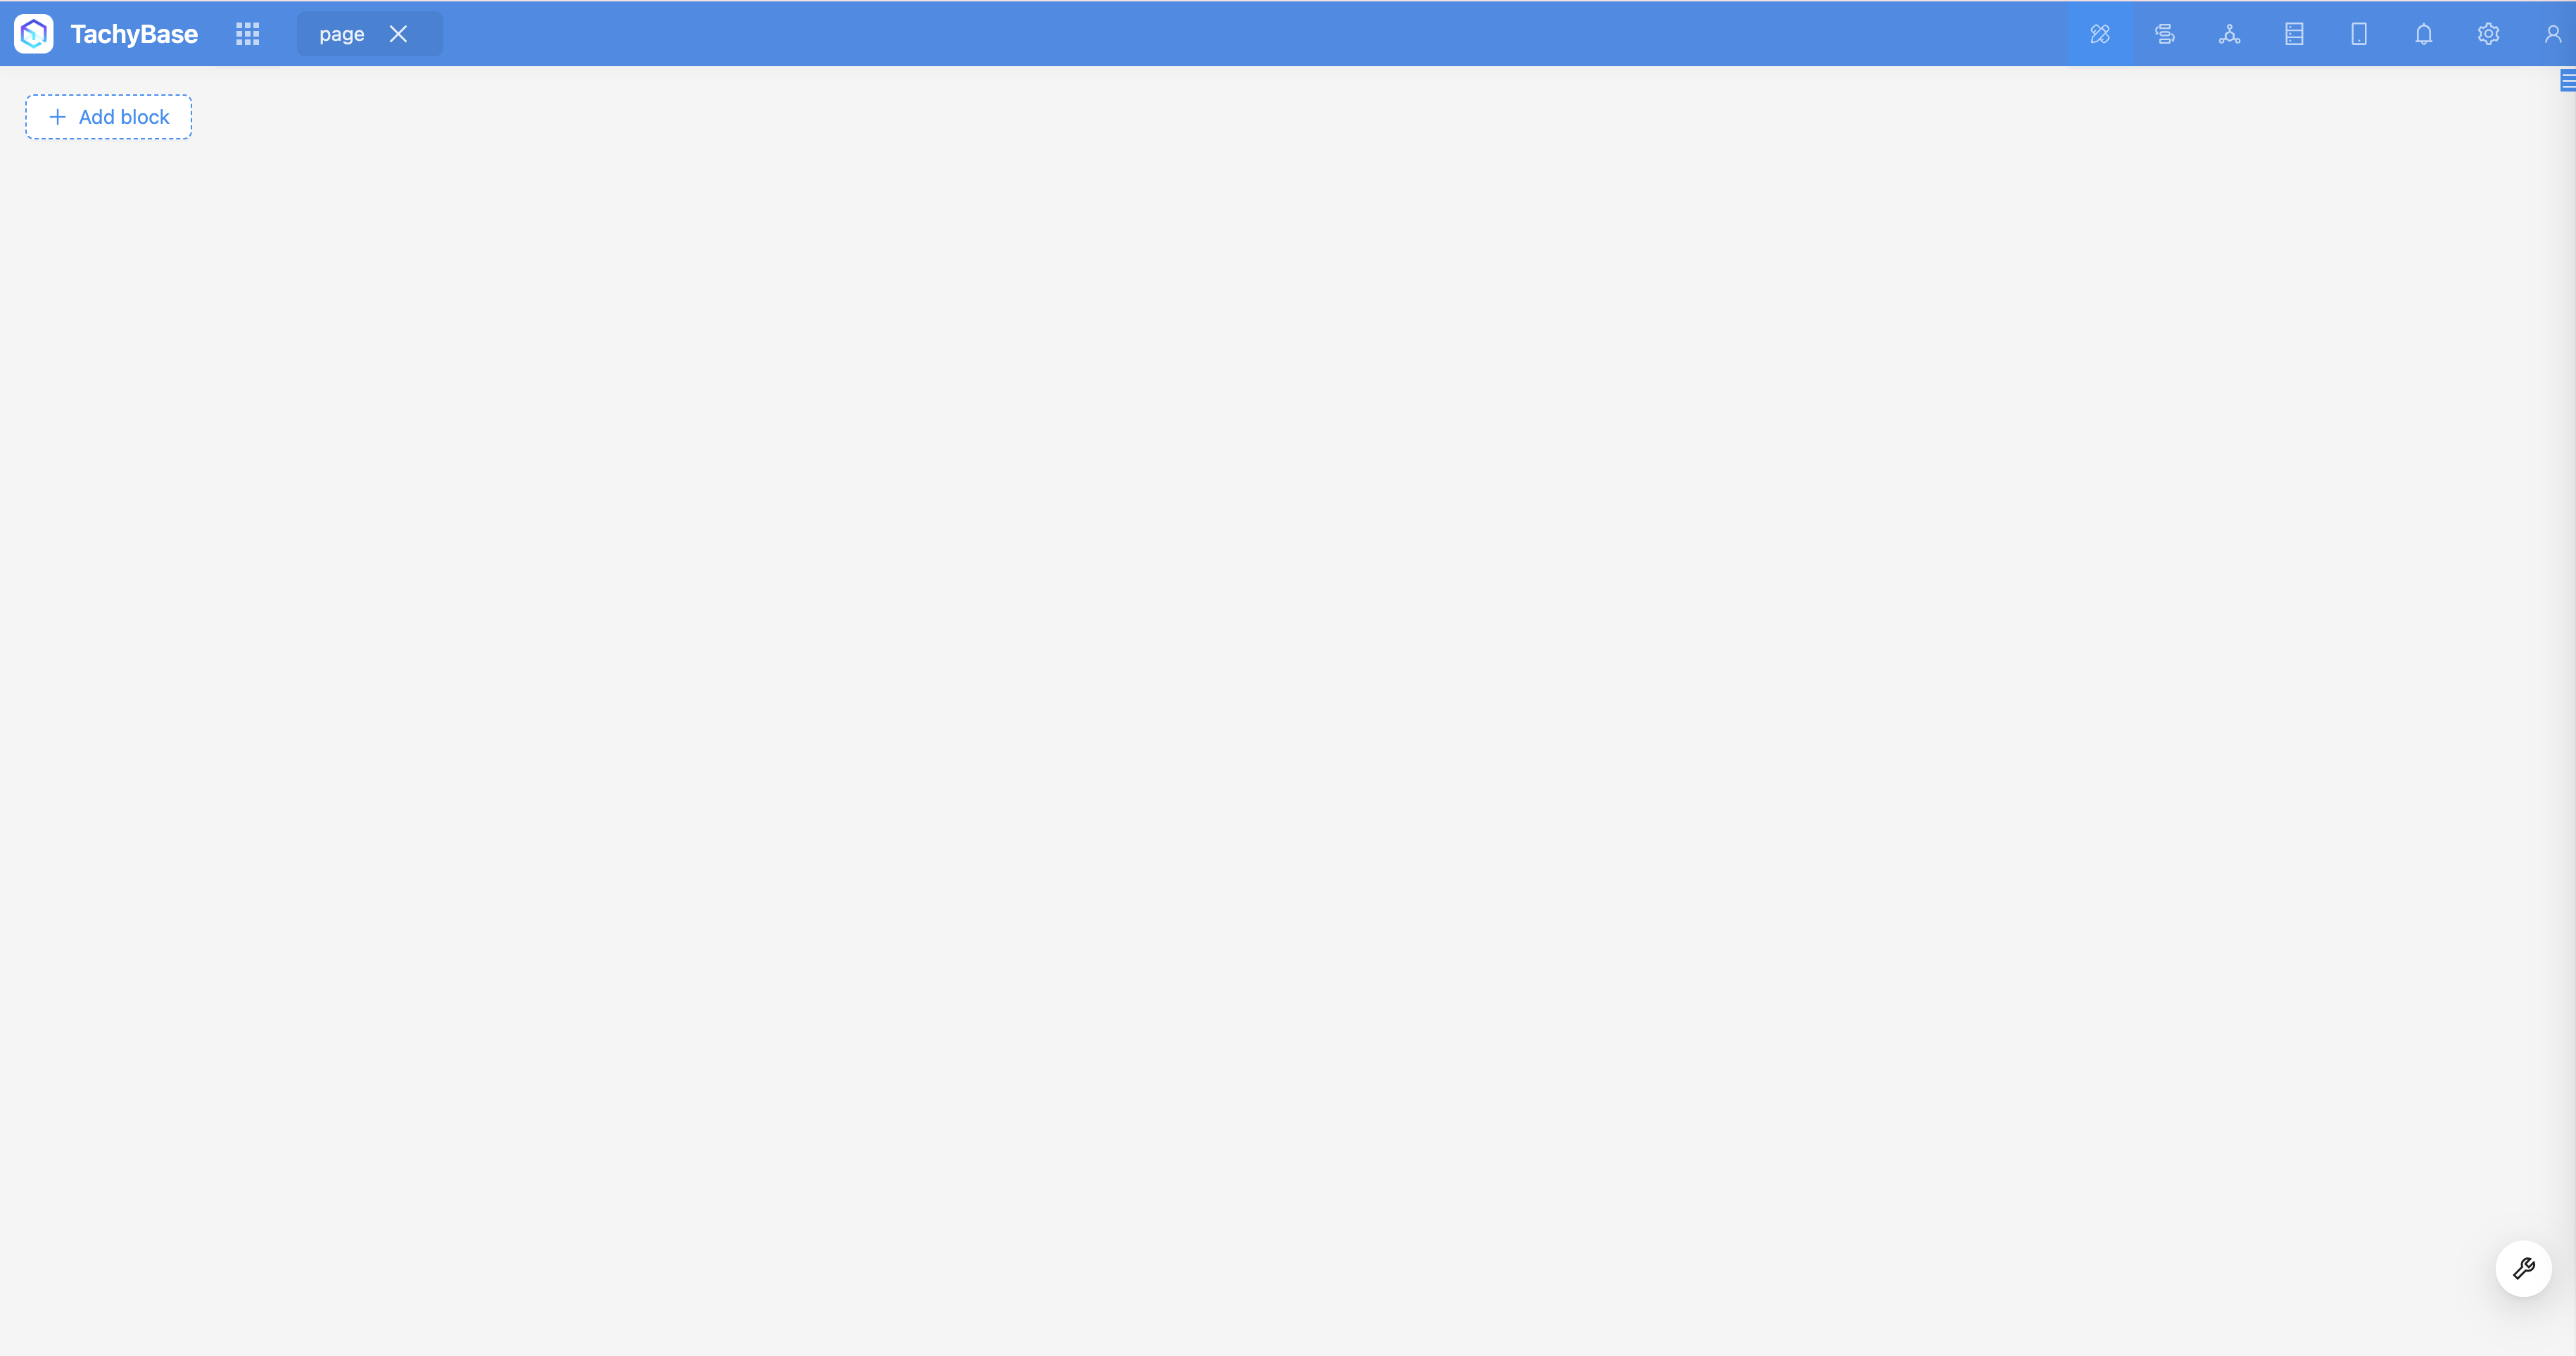
Enable Header
Usually, we need to enable the header area to display the page title and tabs. There are also situations where we don't want to enable it. For example, when we create a Dashboard page, the first-level menu can already well represent the page content. At this time, we can turn off the header and only display blocks within the page.
Enable Title
The default page title is the menu item name. By clicking "Edit Page Title", you can modify it. Like the header, sometimes we don't need to display the page title, only the tabs. In this case, you can turn off the title.
Enable Tabs
When there is too much content on a page, or when it's suitable to organize it into several independent parts, we can enable tabs. Each tab is an independent block container. As shown below, we added 3 tabs to the order page, used to display all orders, completed orders, and refunded orders respectively. Move the mouse to the tab title, and you can see the sort and configuration buttons in the upper right corner.
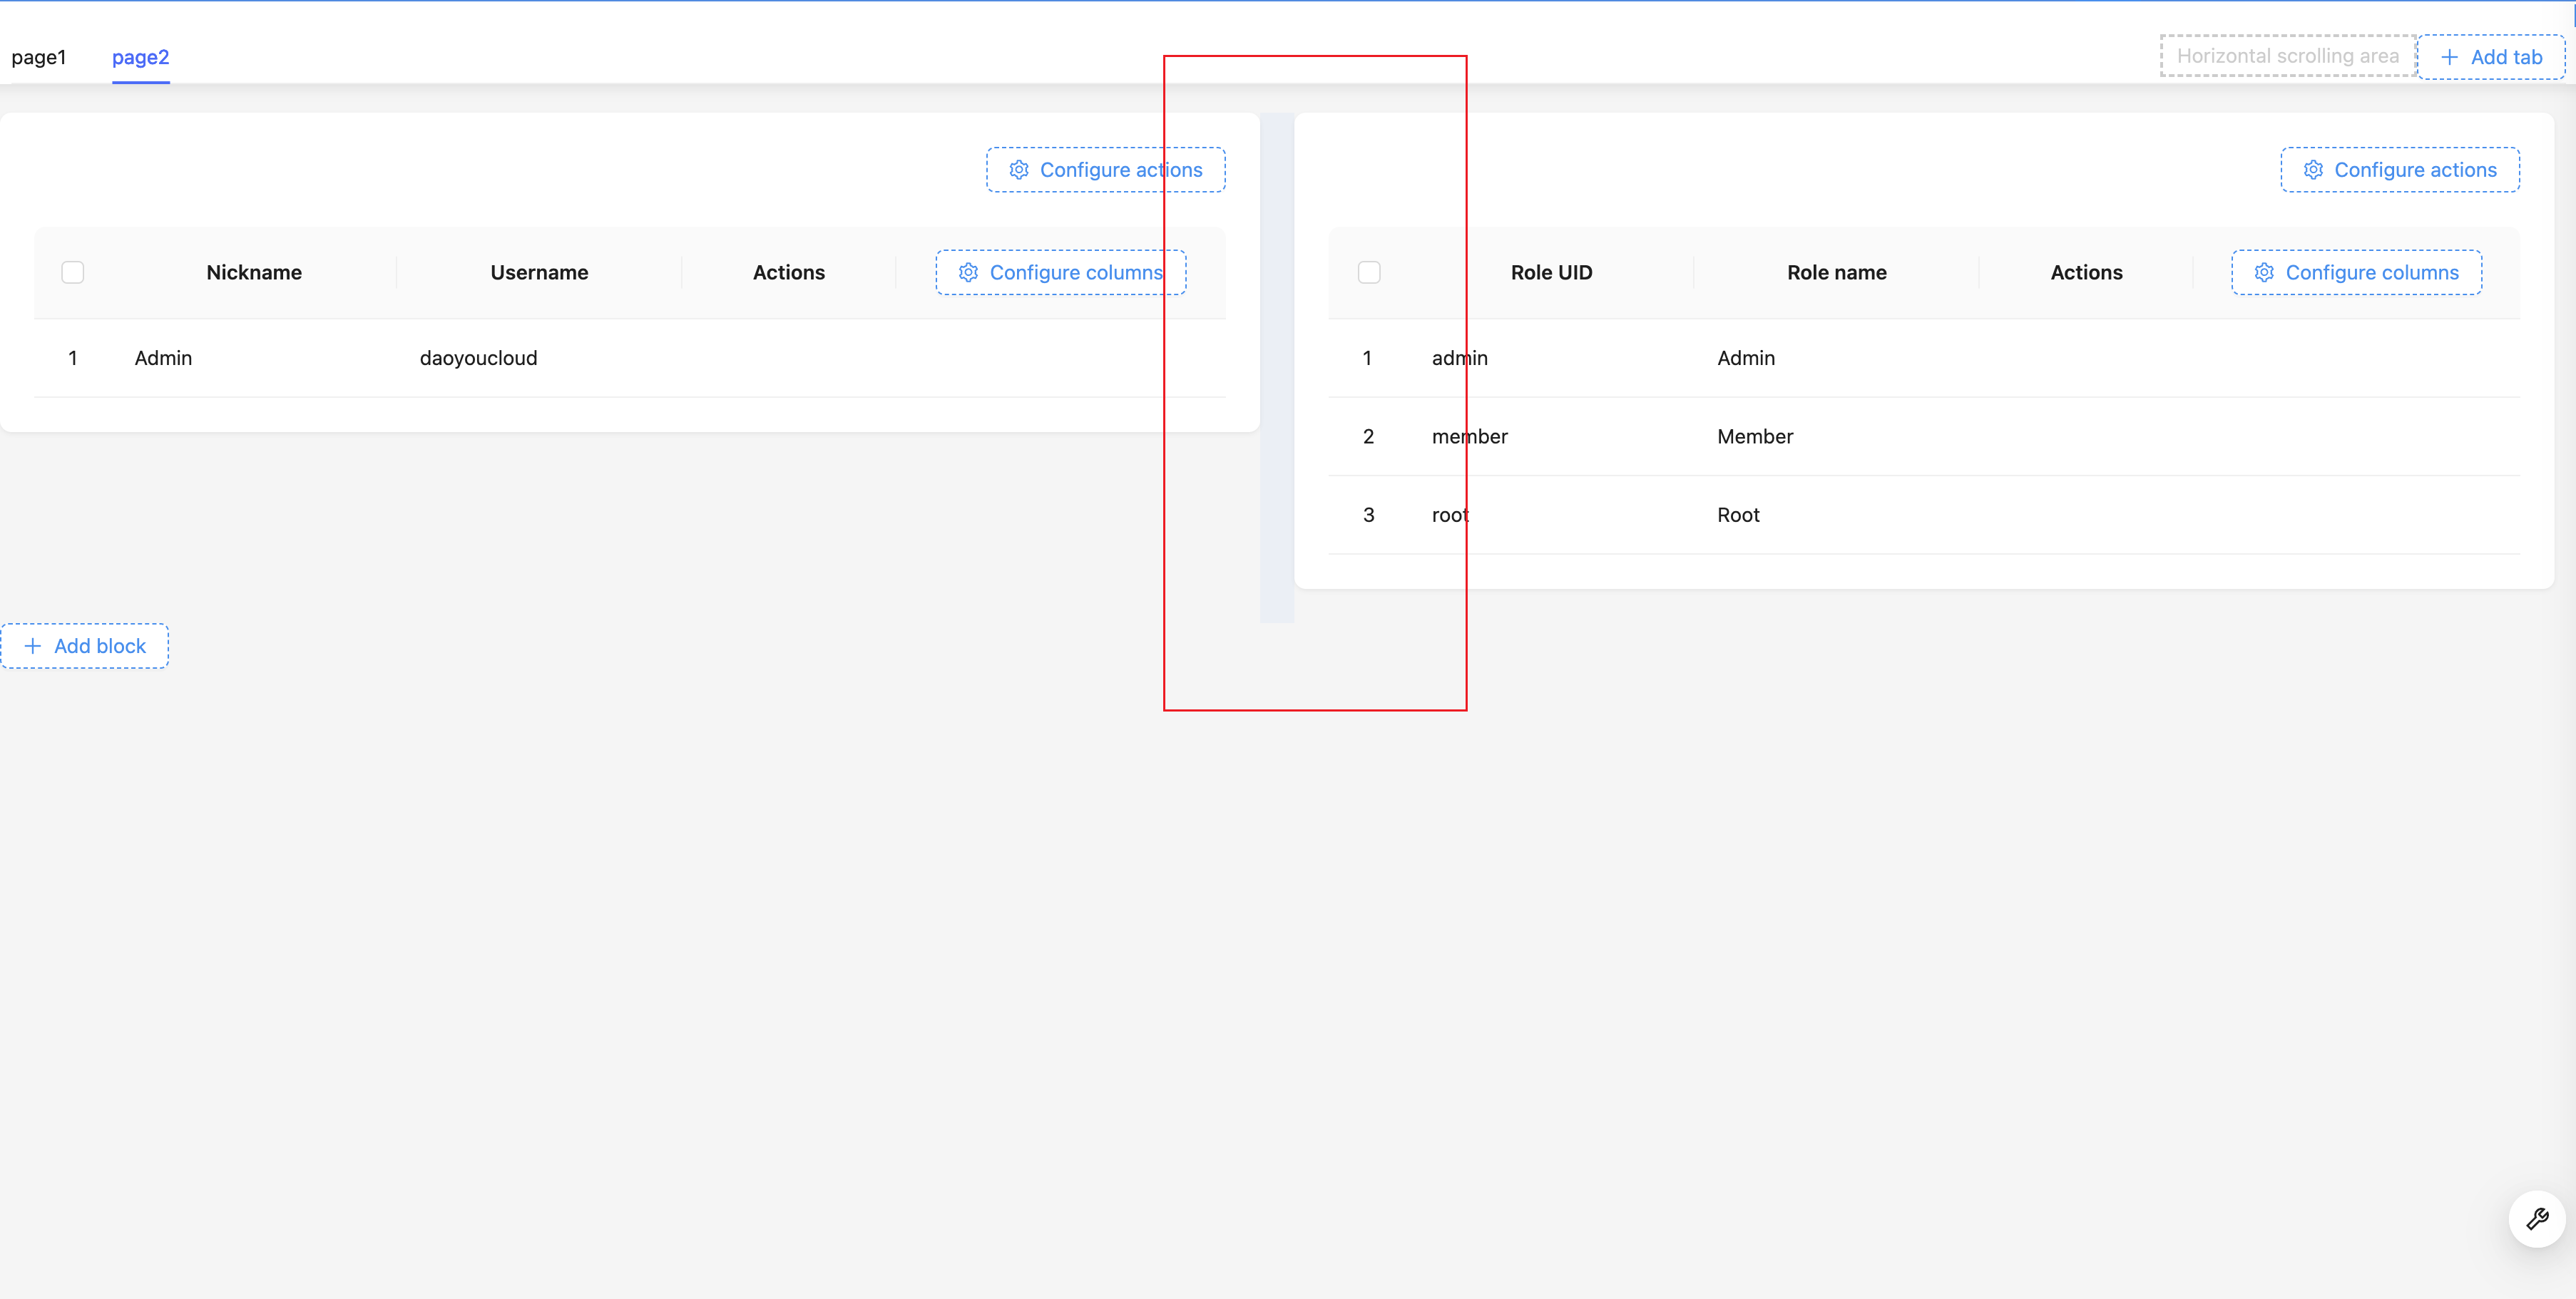
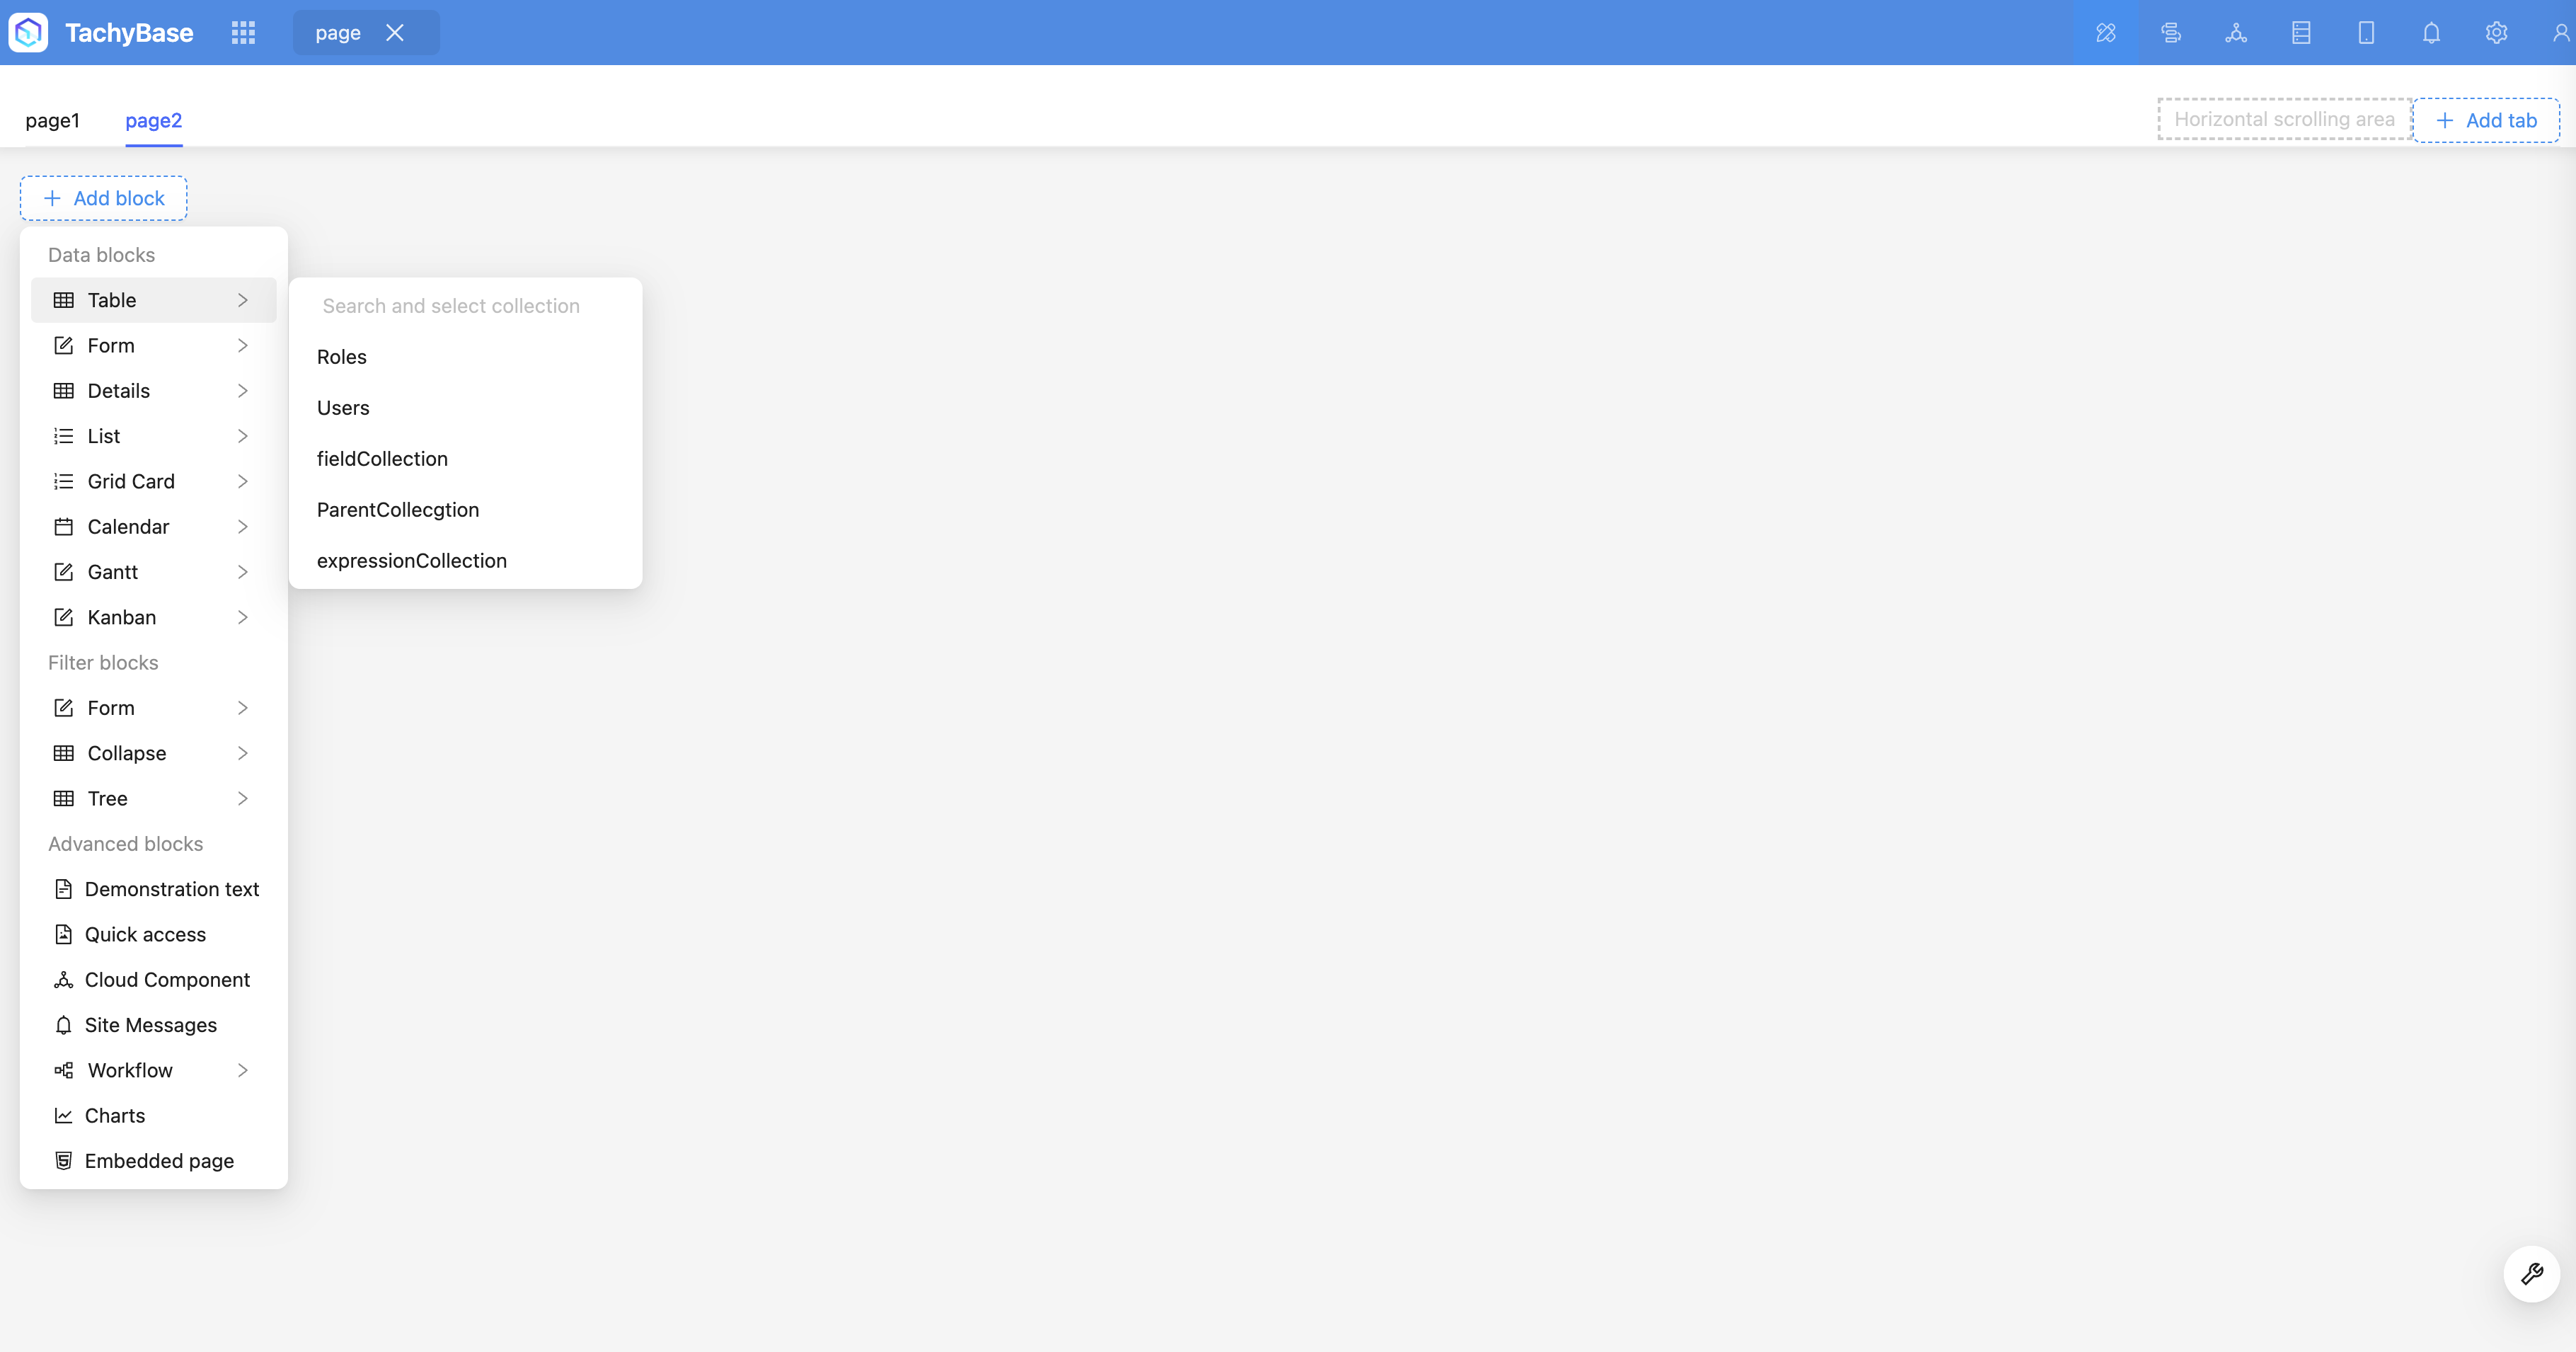
Add Blocks
Click "Add Block" to add an unlimited number of blocks to the page (see the introduction to Blocks).
After adding multiple blocks, you can use the move button in the upper right corner of the block to drag and drop the layout of blocks freely, adjust the layout, and achieve the most suitable effect.