

Quick Start
Configure a Workflow
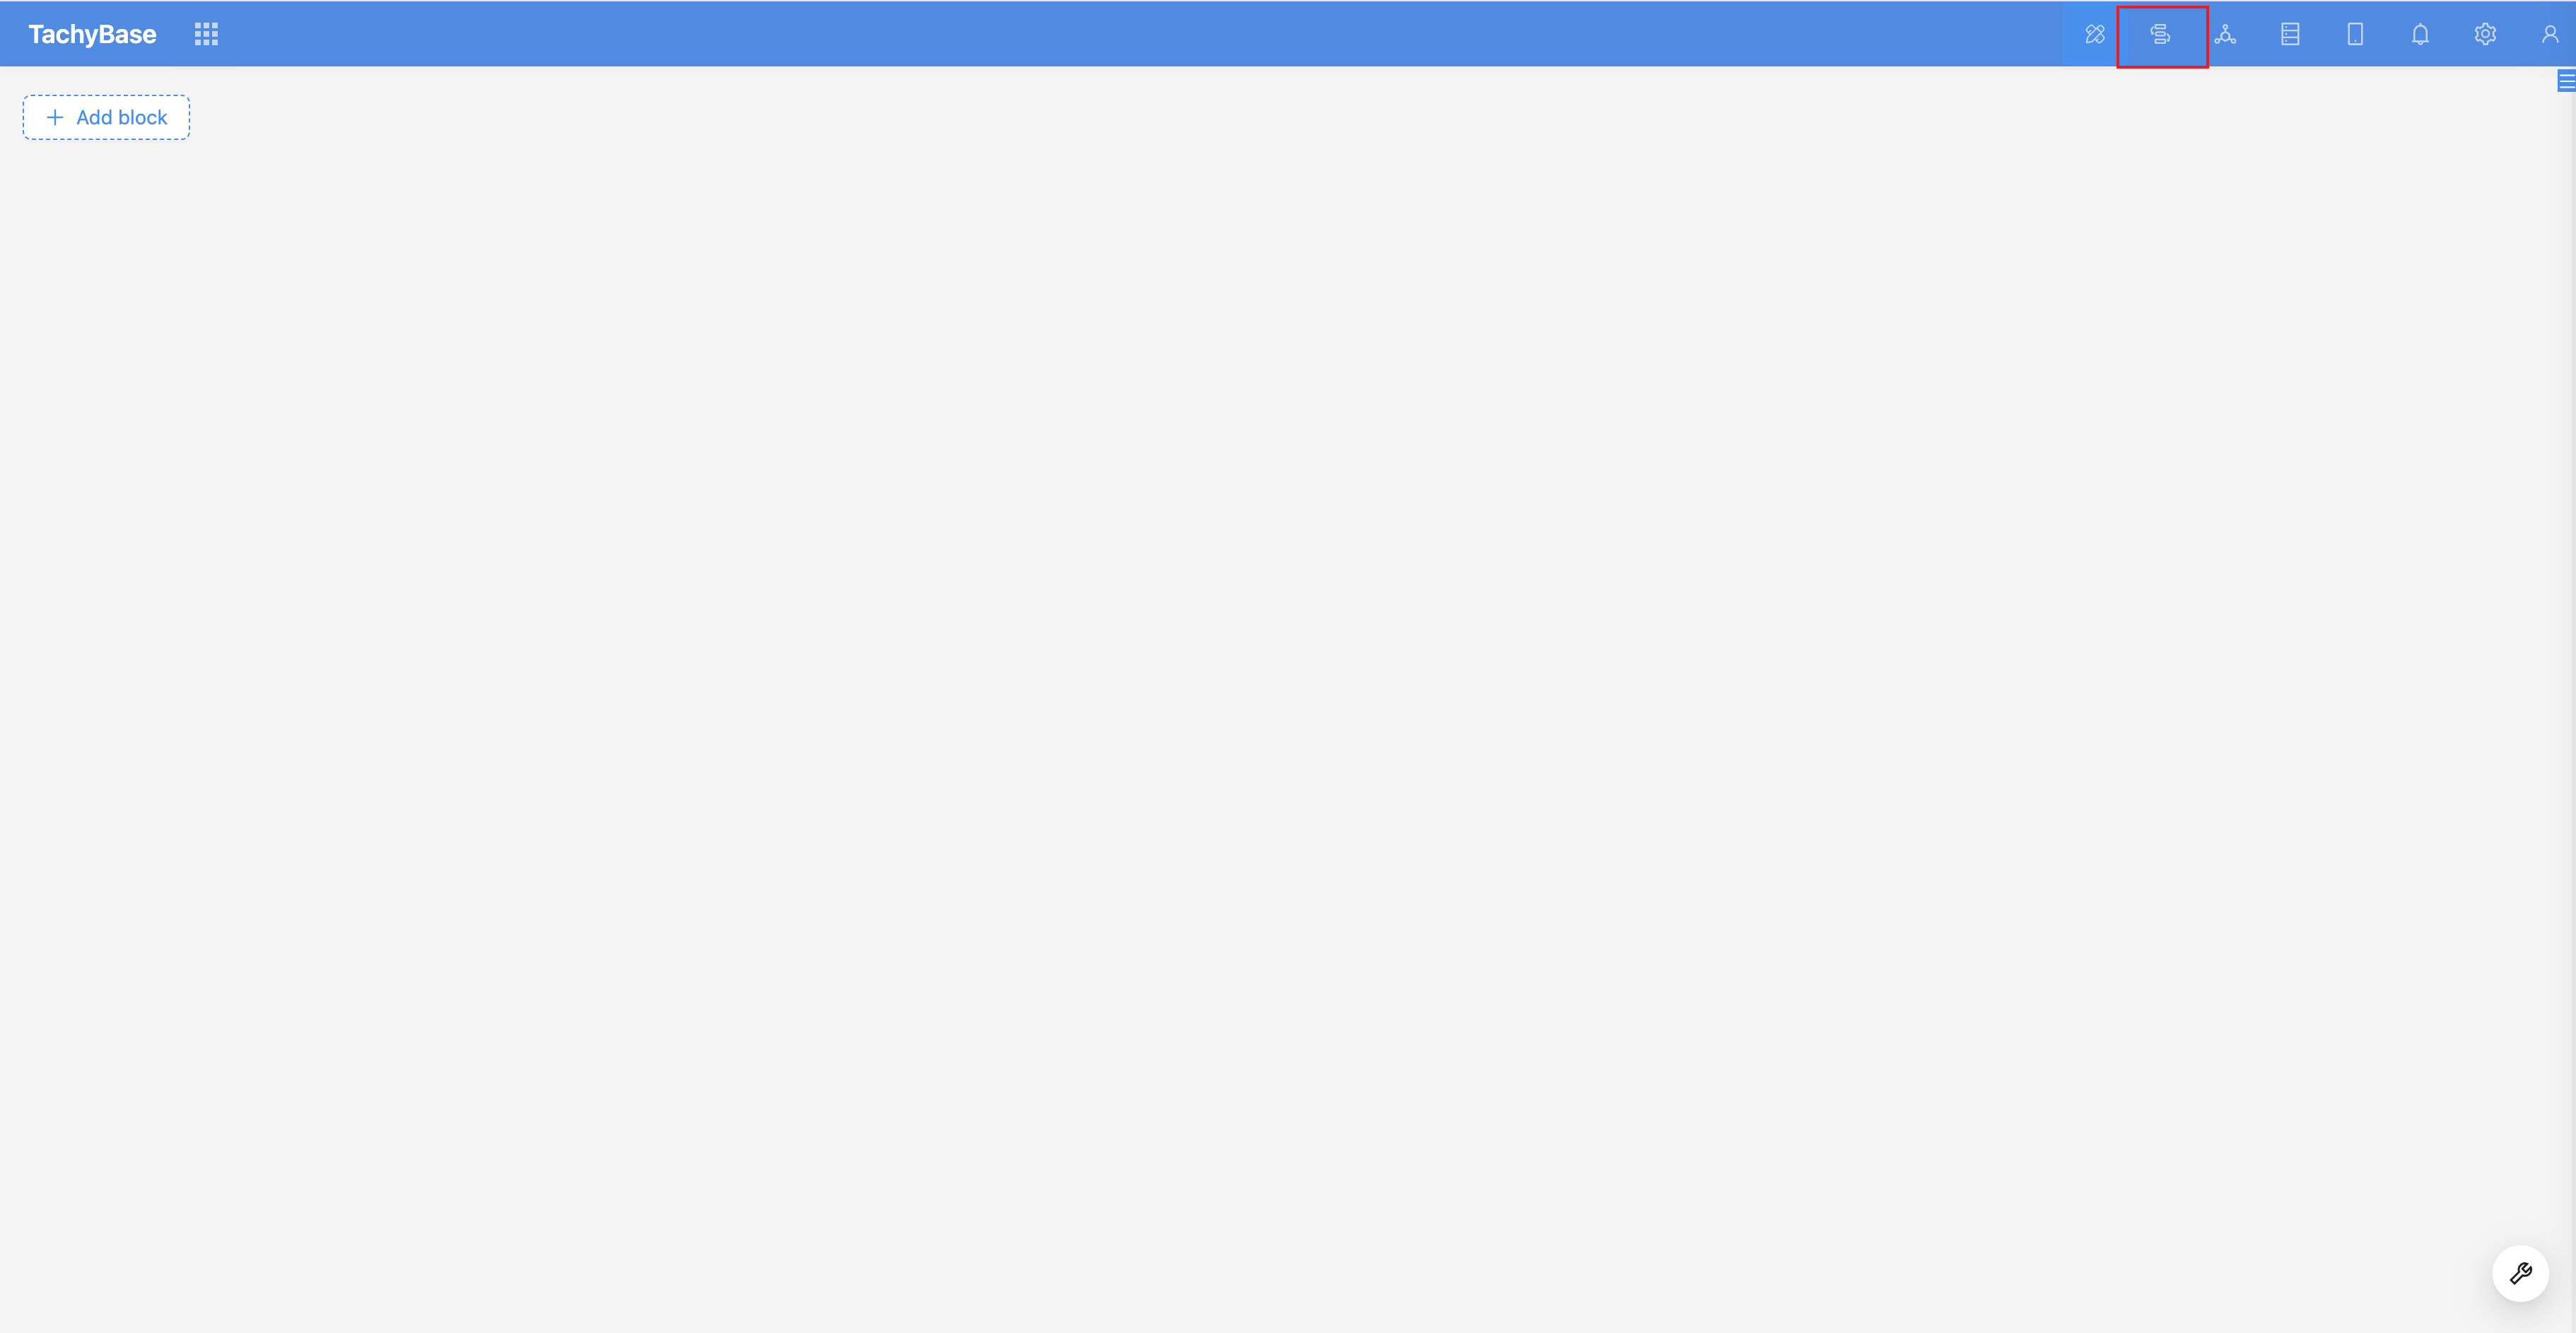
Enter the workflow plugin management page from the plugin configuration menu in the top menu bar:
The management interface will list all created workflows:
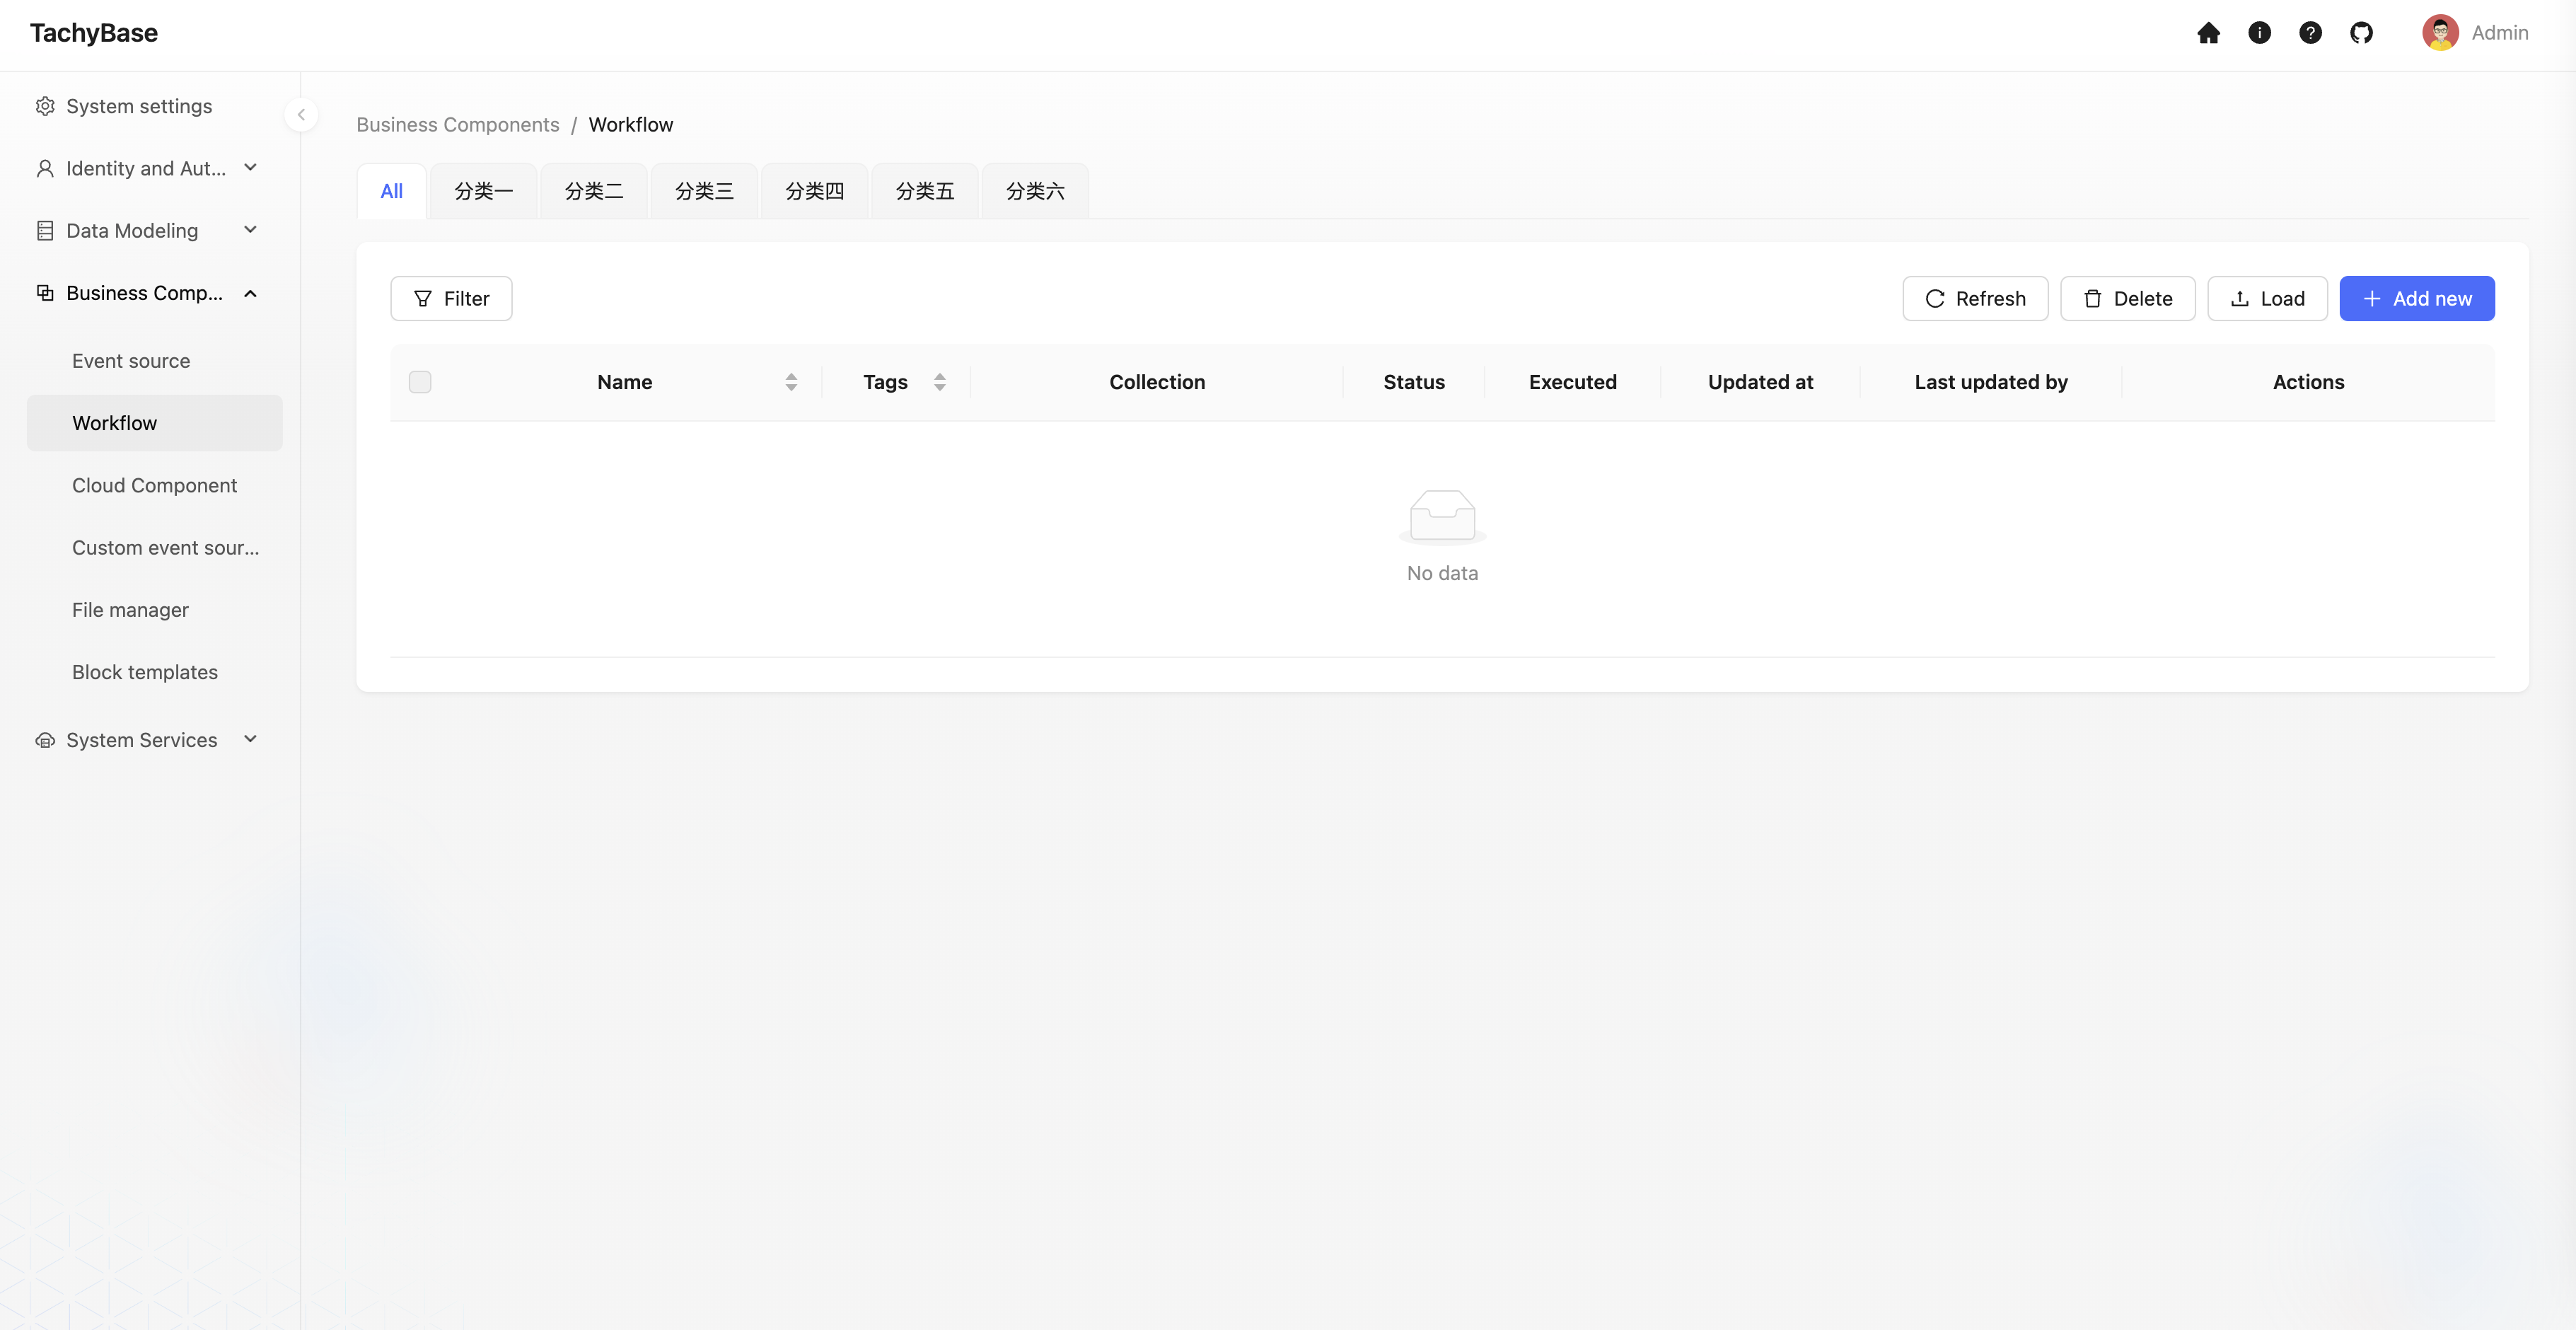
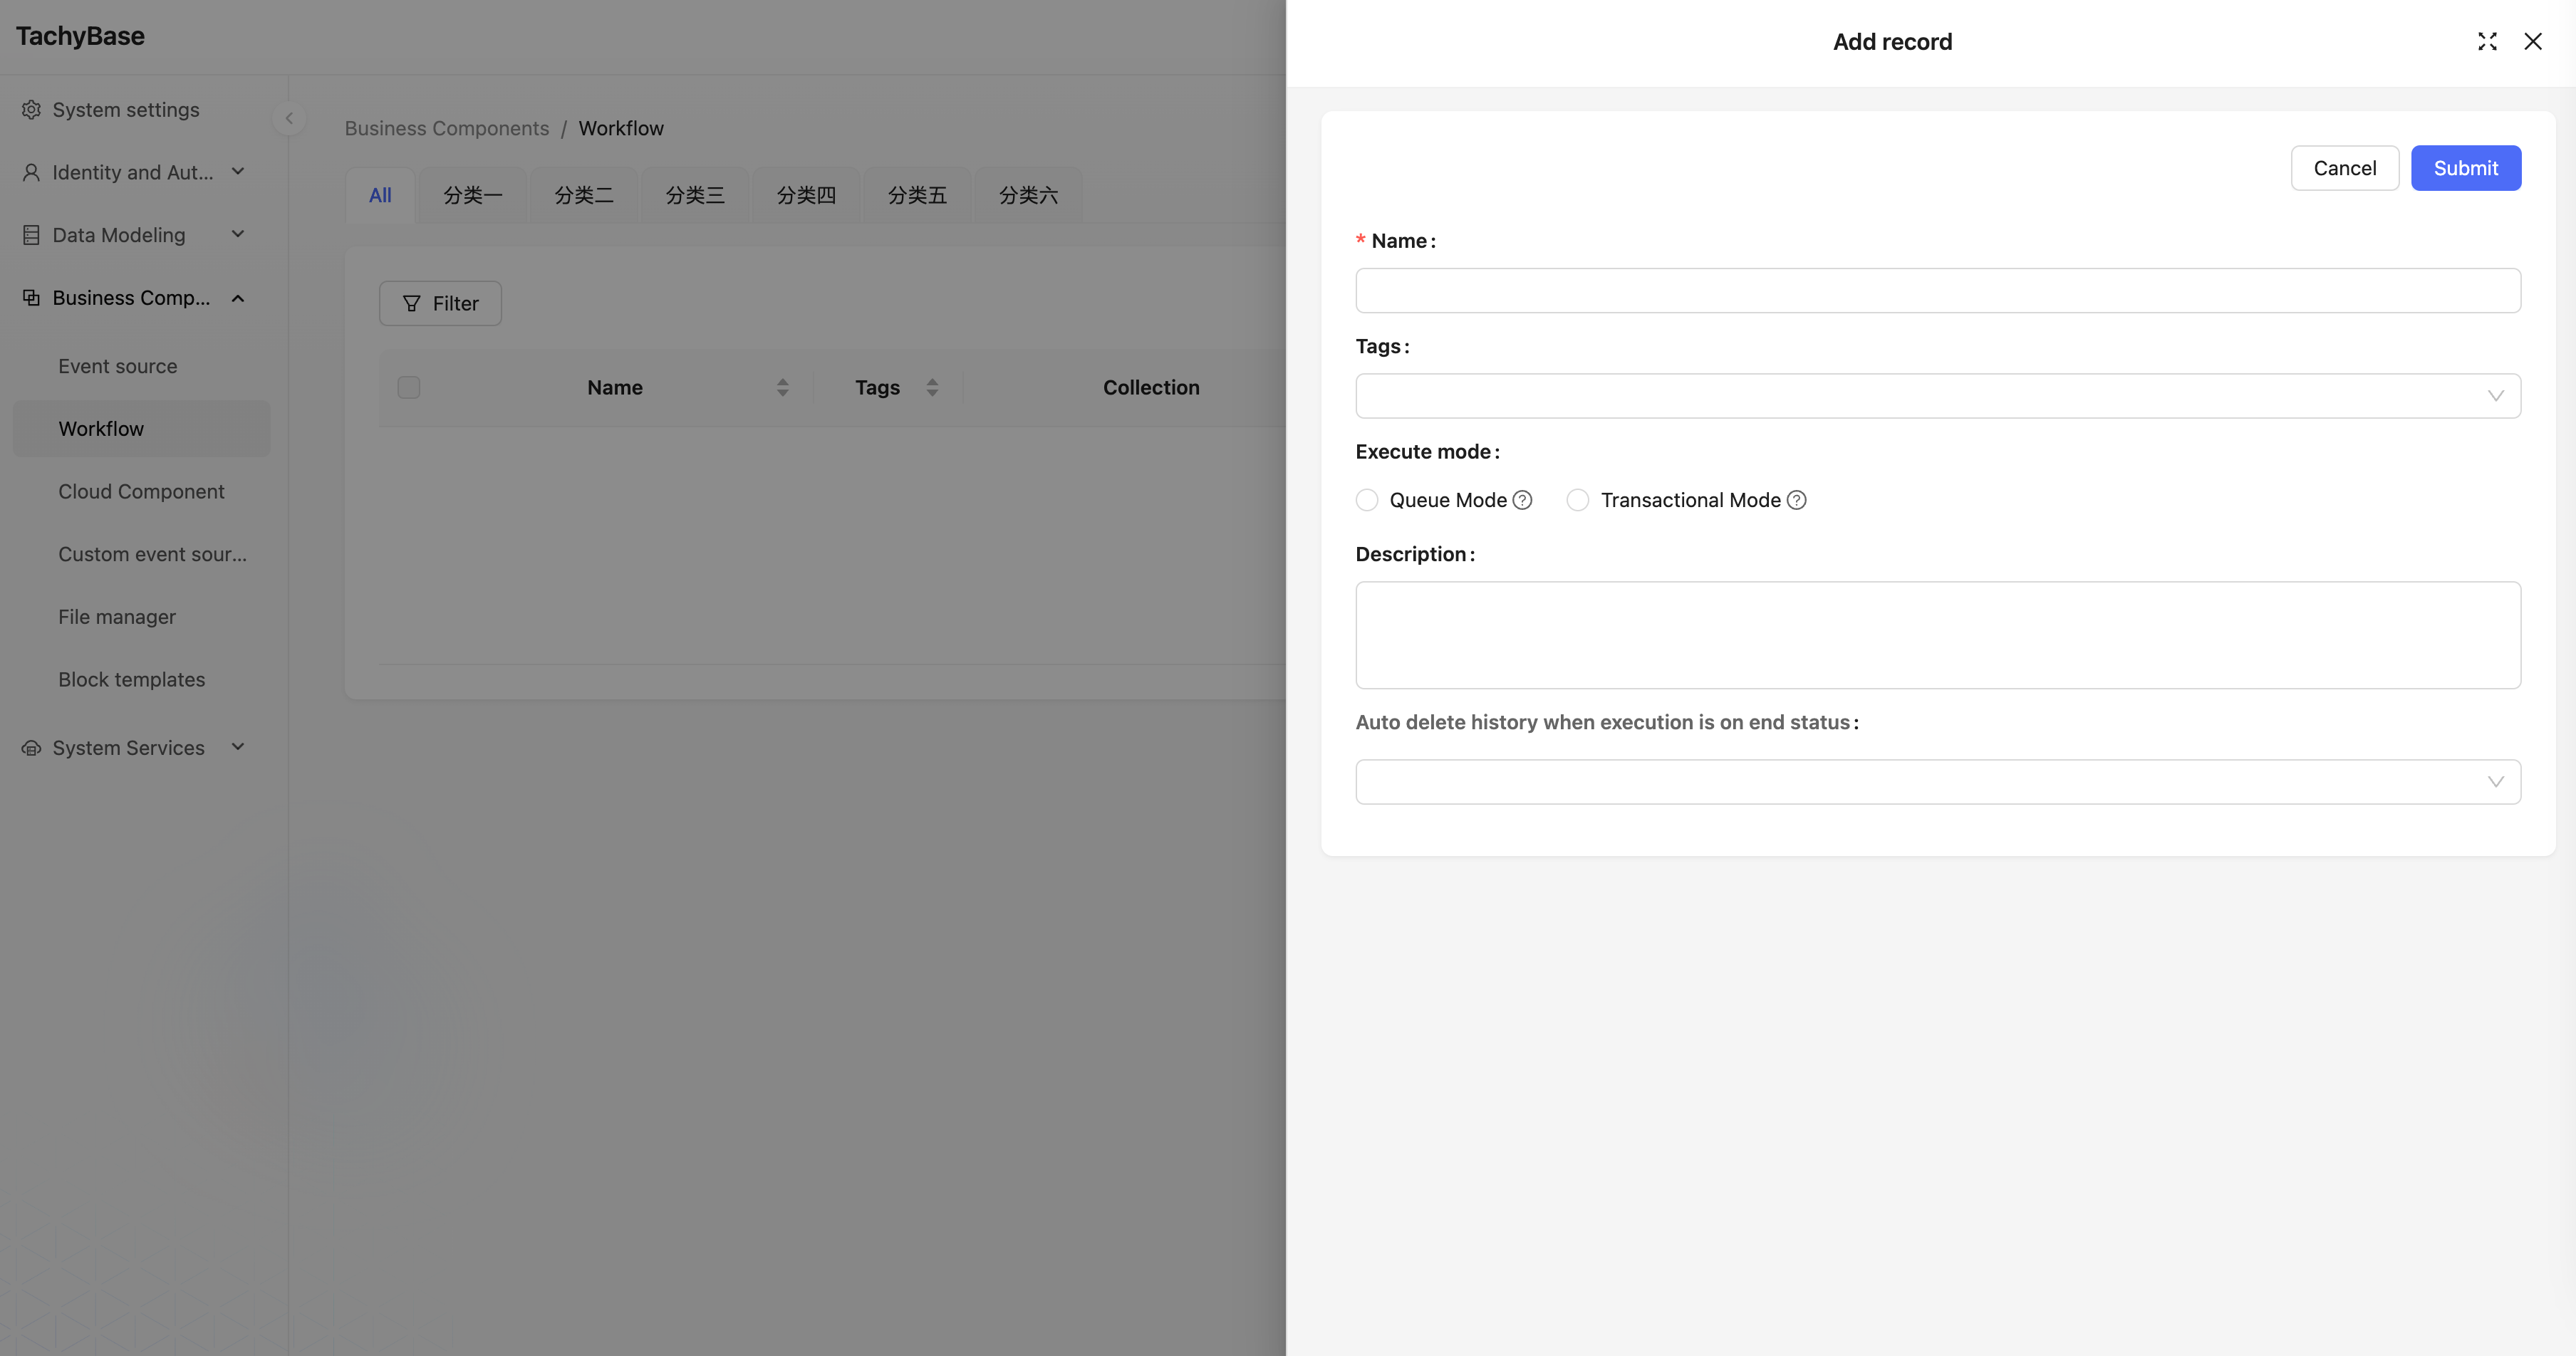
Click the "Create" button to create a new workflow, select data table event:
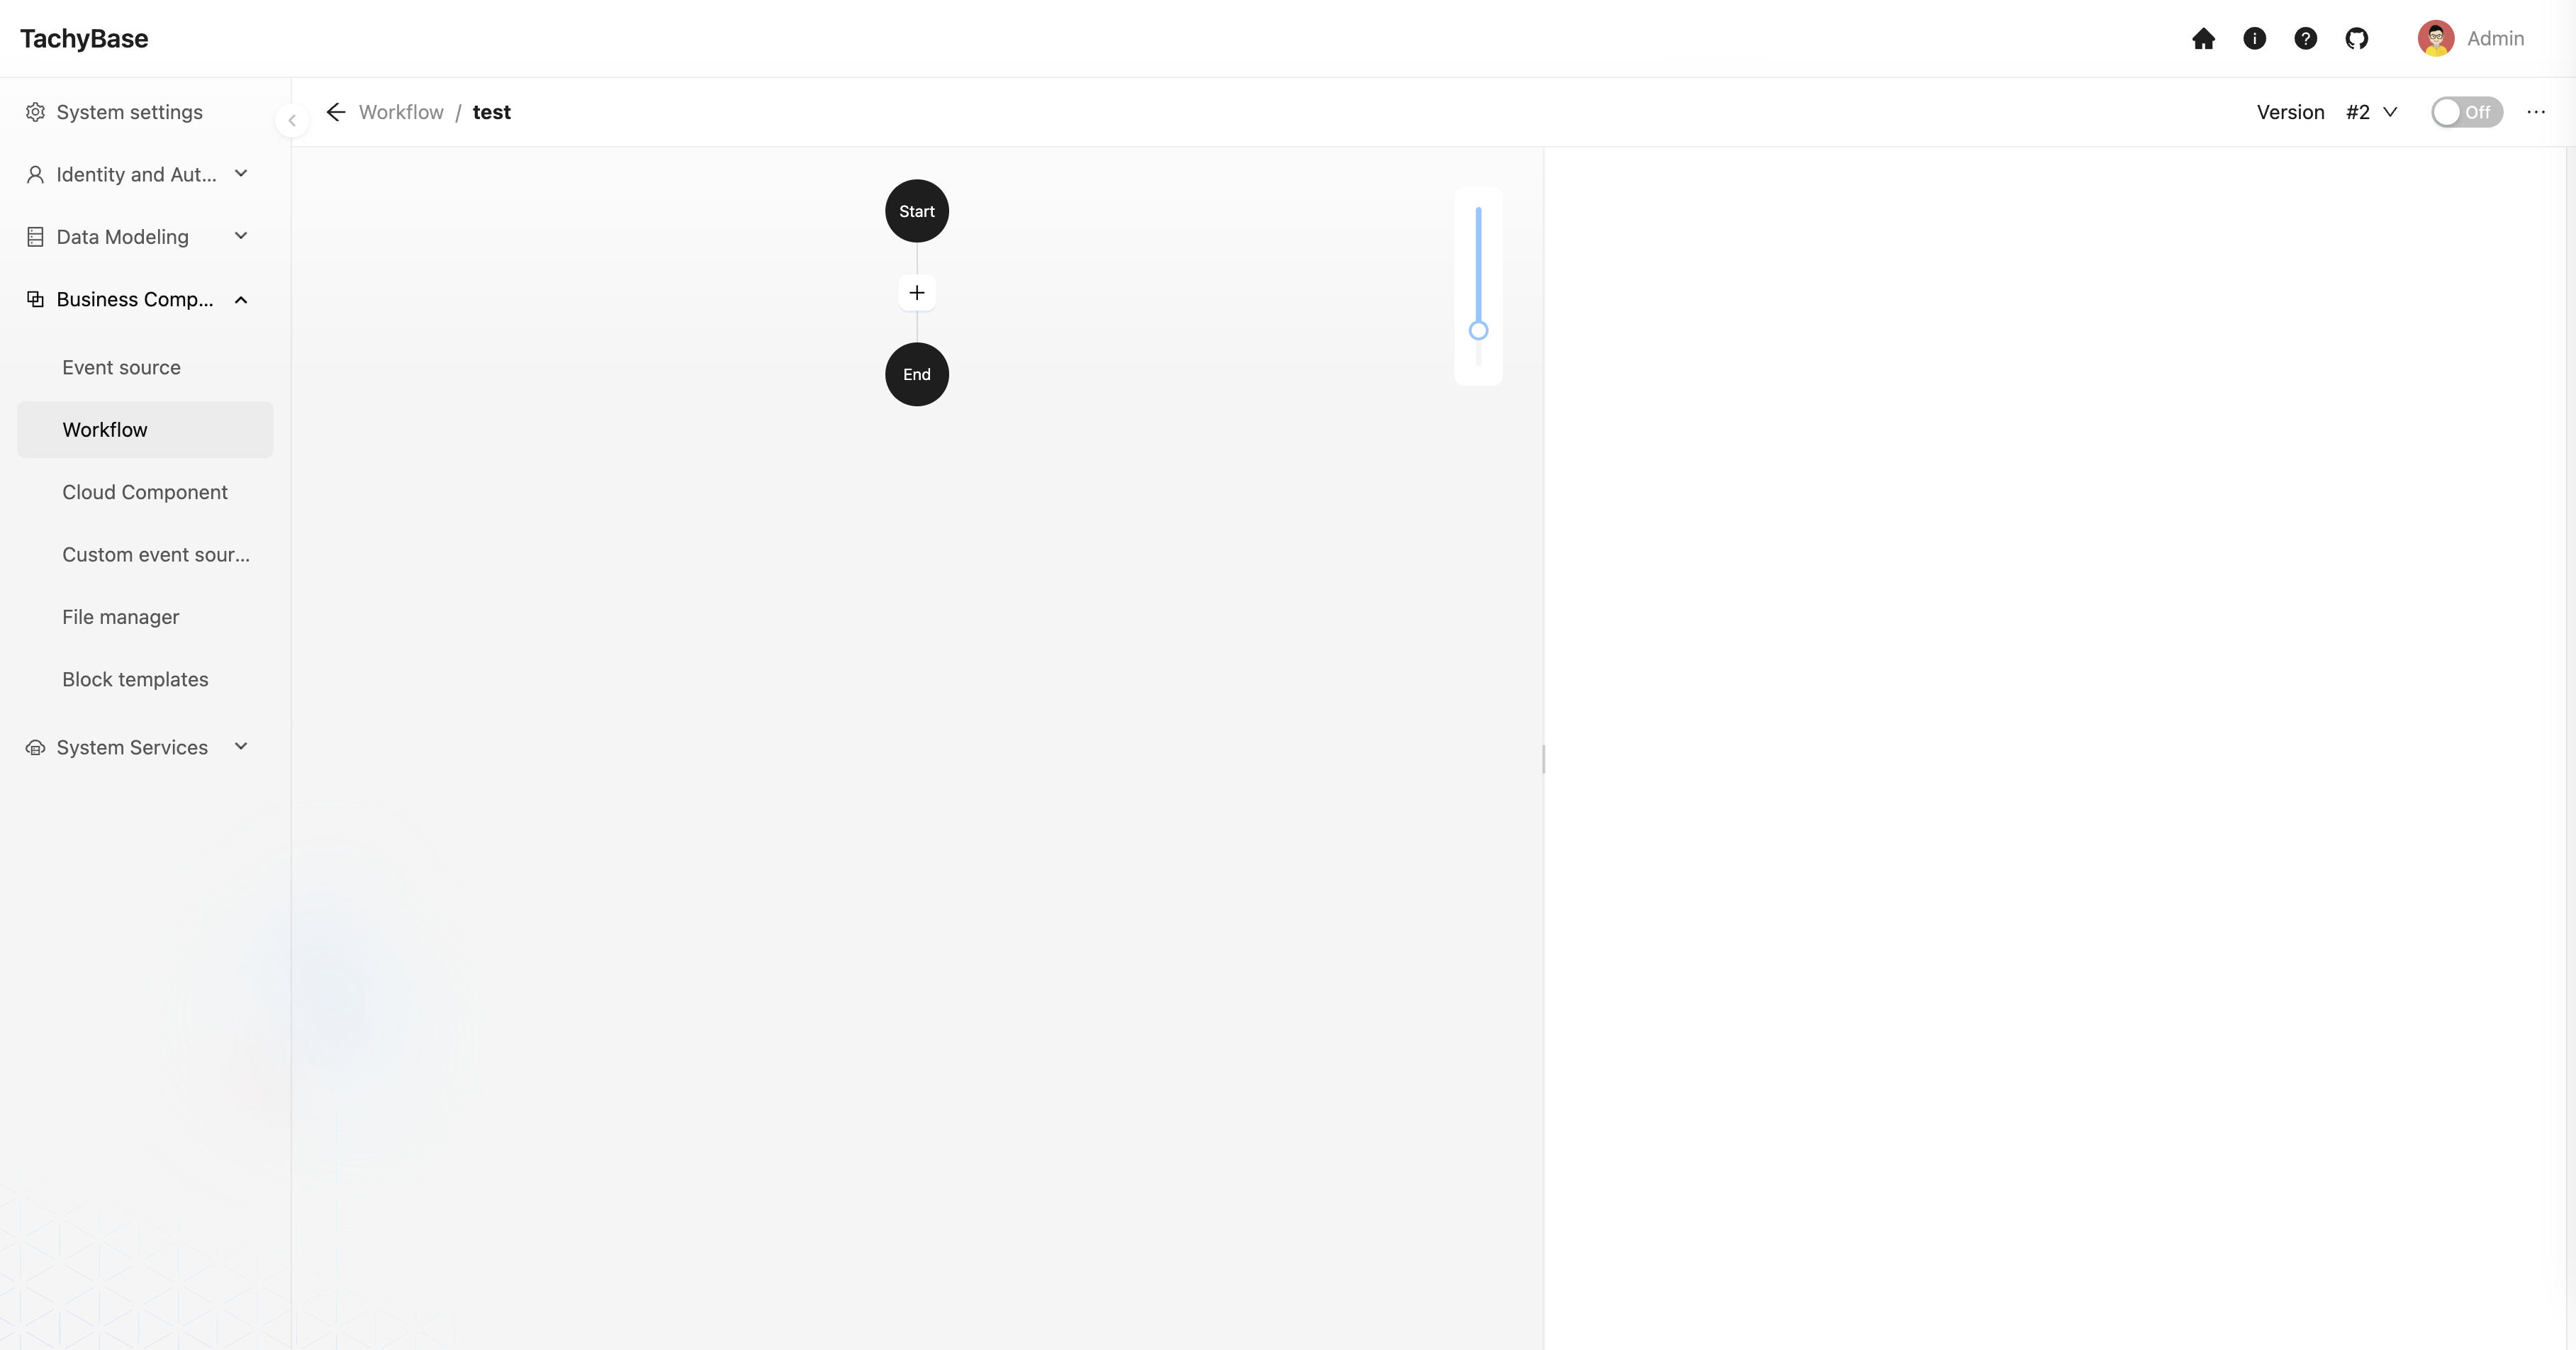
Click the "Configure" link in the list to enter the workflow configuration interface:
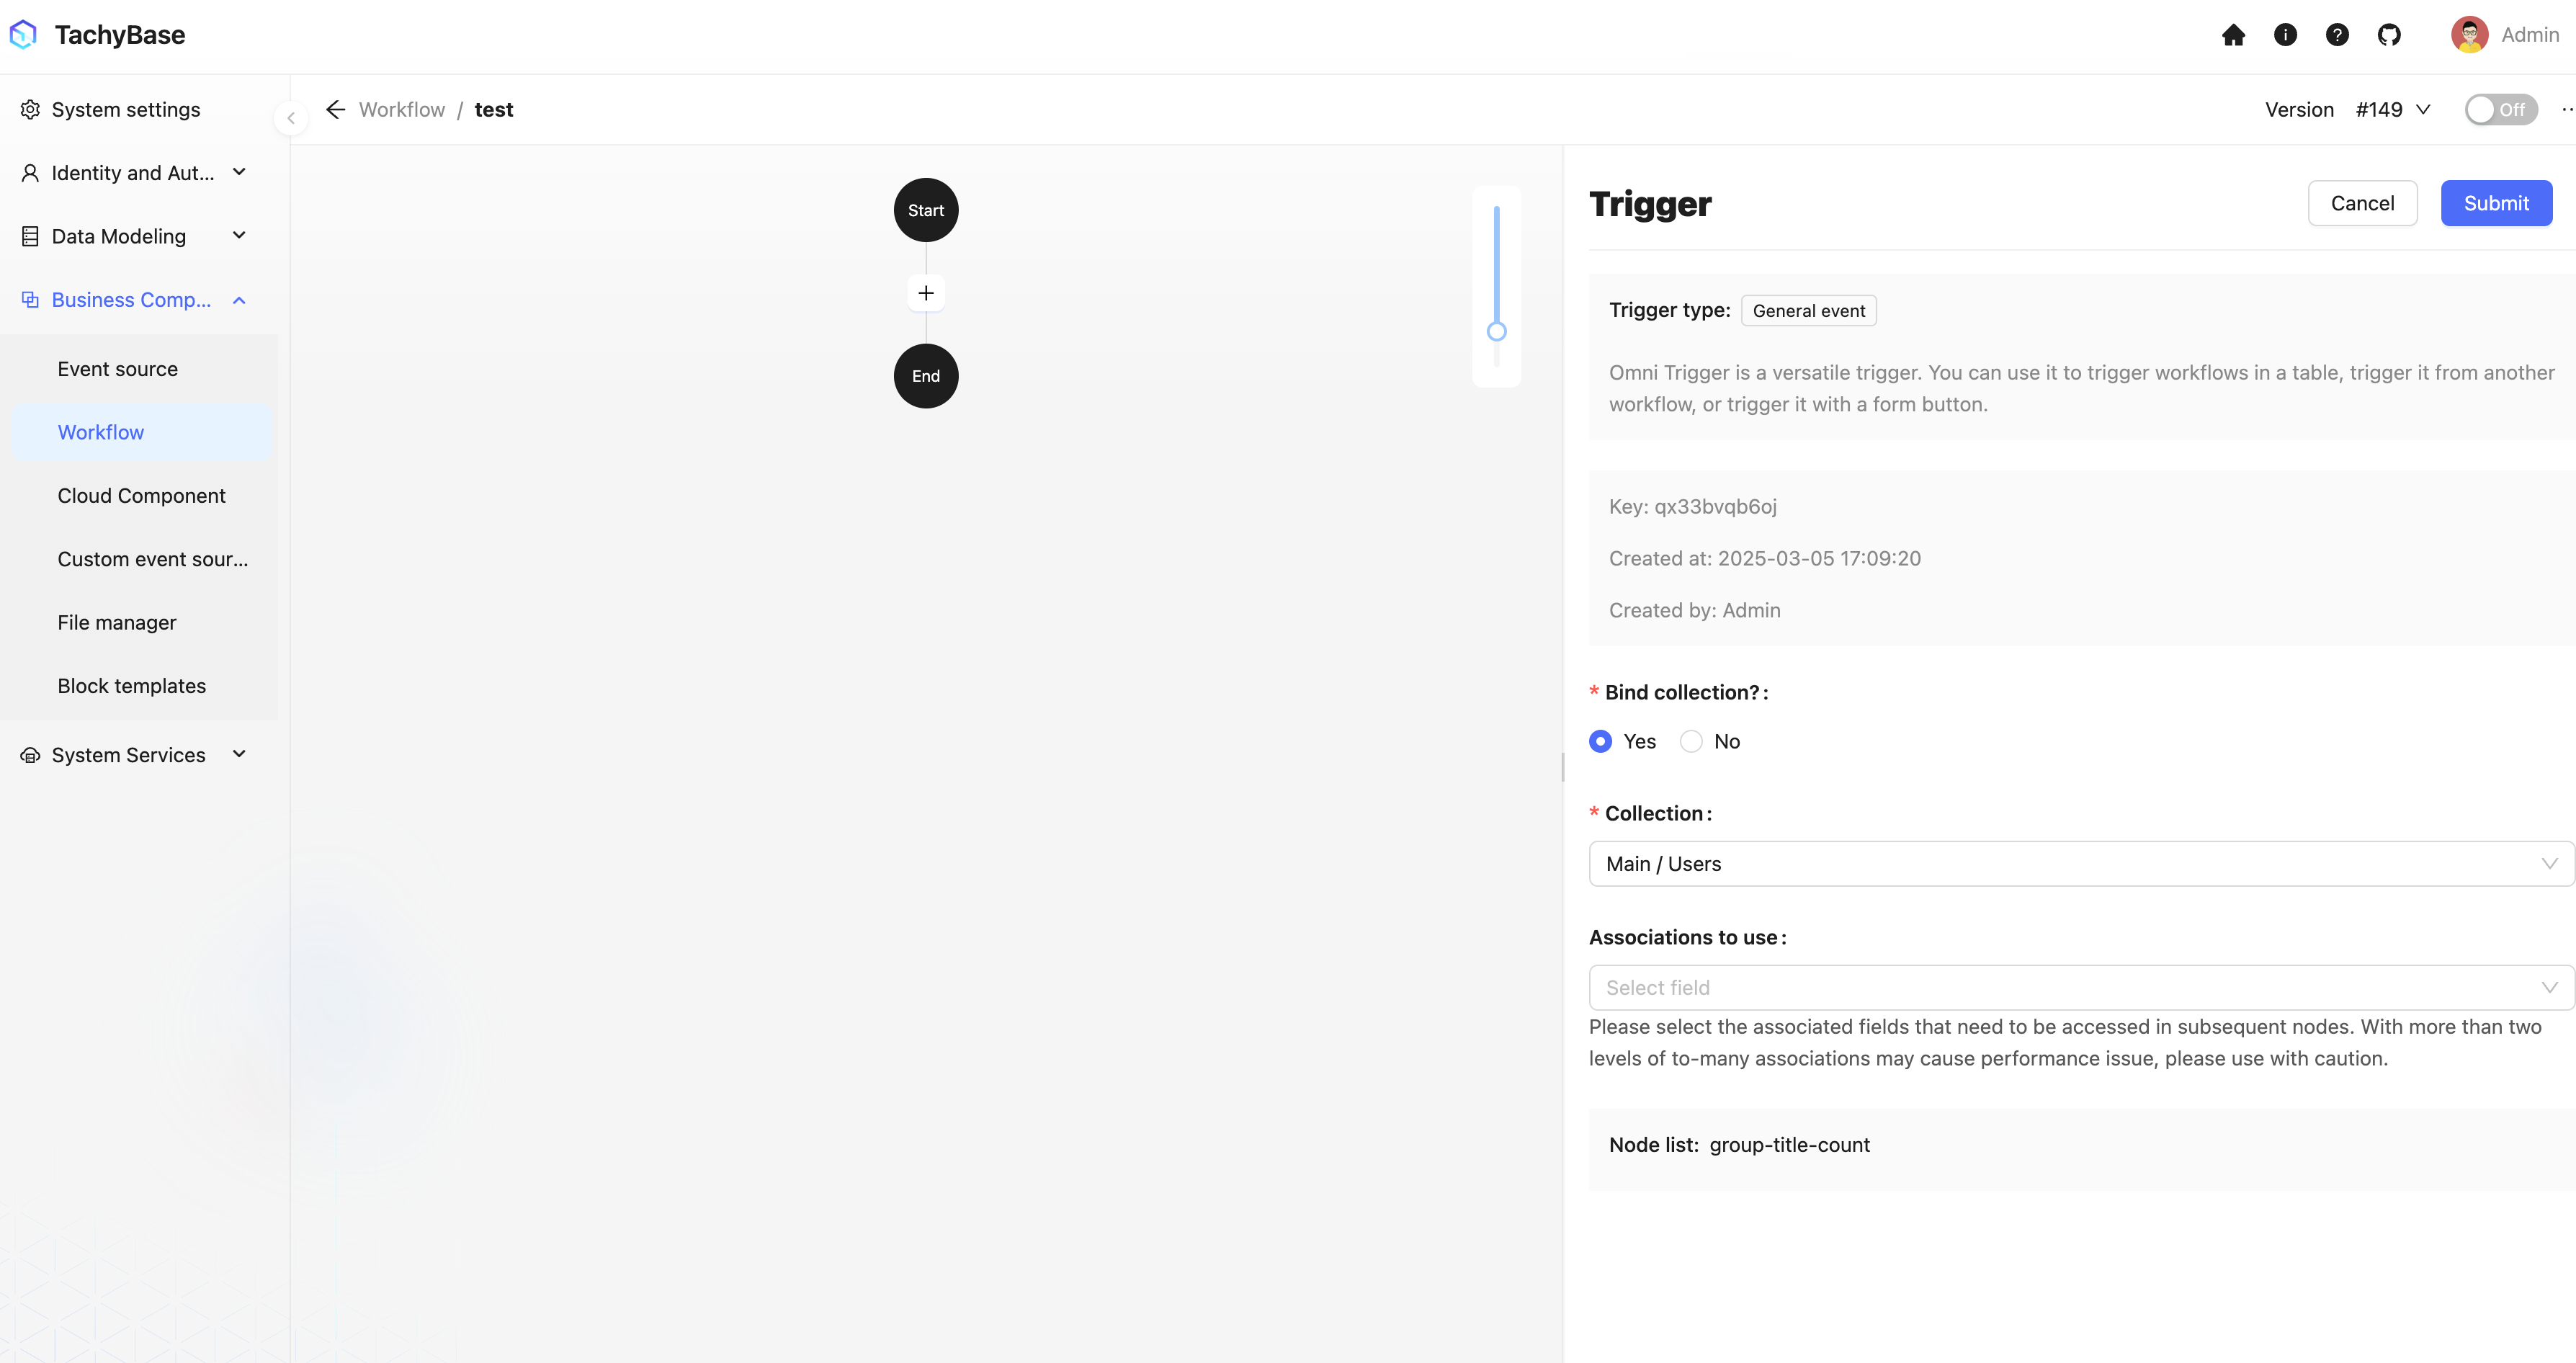
Then click on the trigger card to open the trigger configuration drawer, select a previously created data table (for example, the "Users" table), and click the "Save" button to complete the trigger configuration:
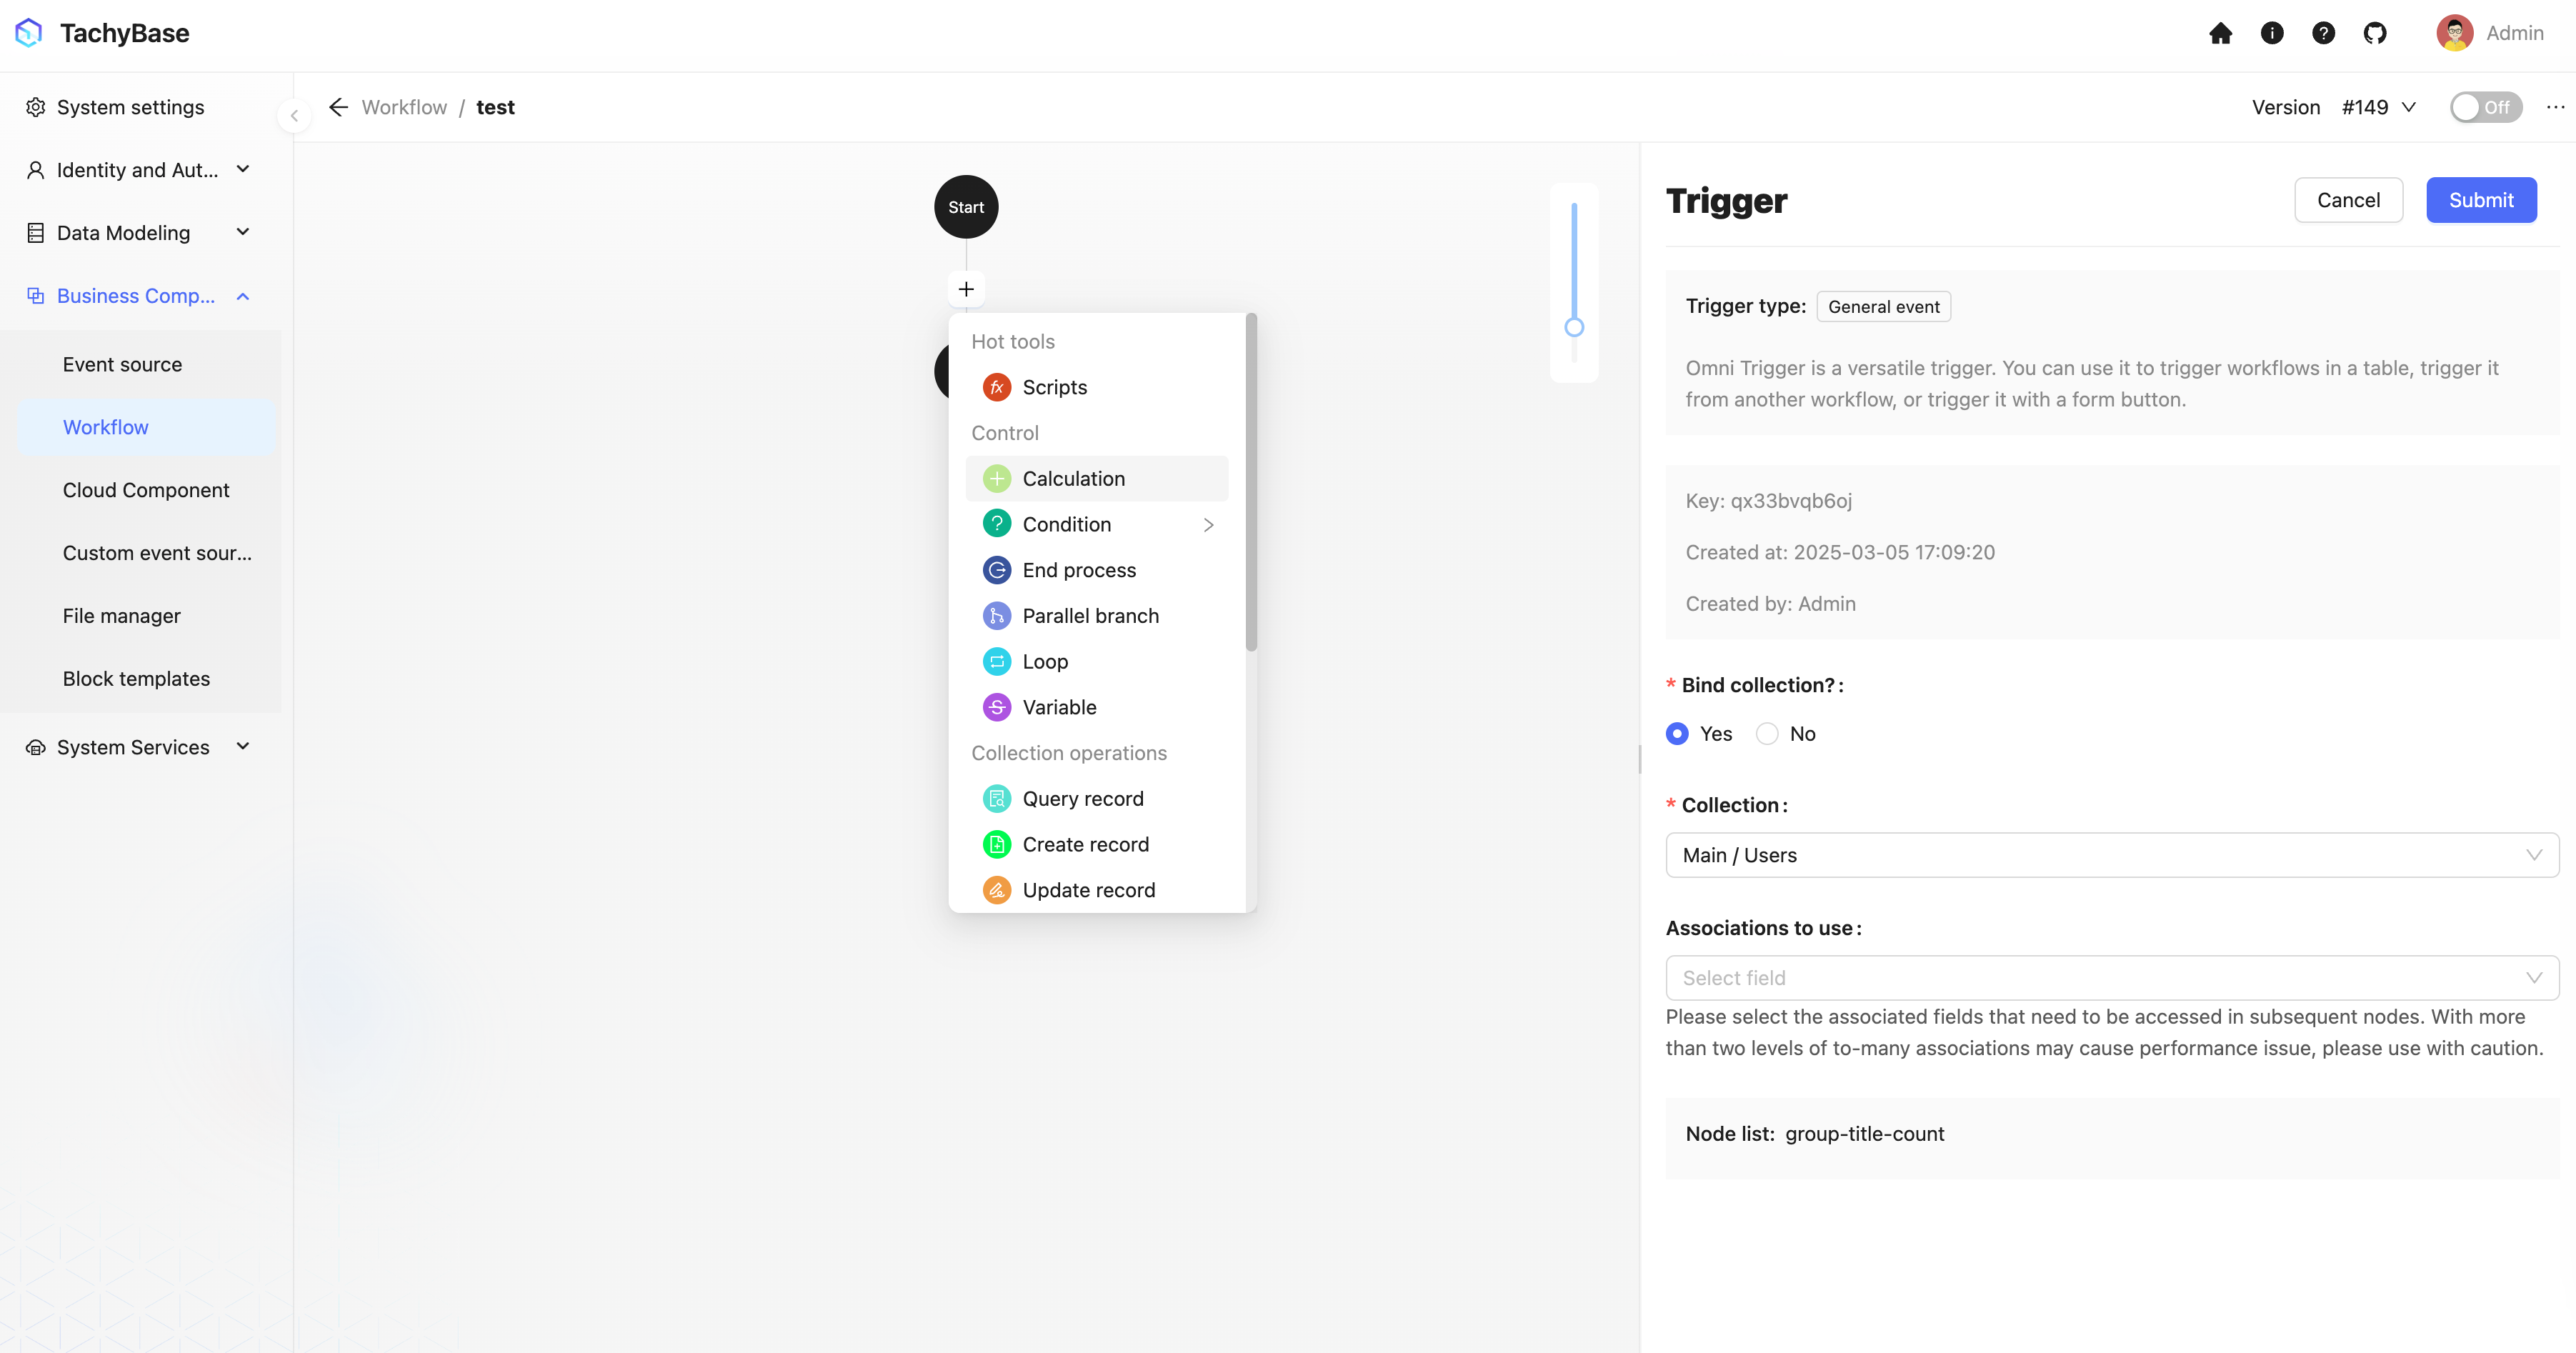
Next, we can click the plus button in the process to add a node to the process. For example, select a calculation node to concatenate the "Title" field and "ID" field of the data in the trigger:
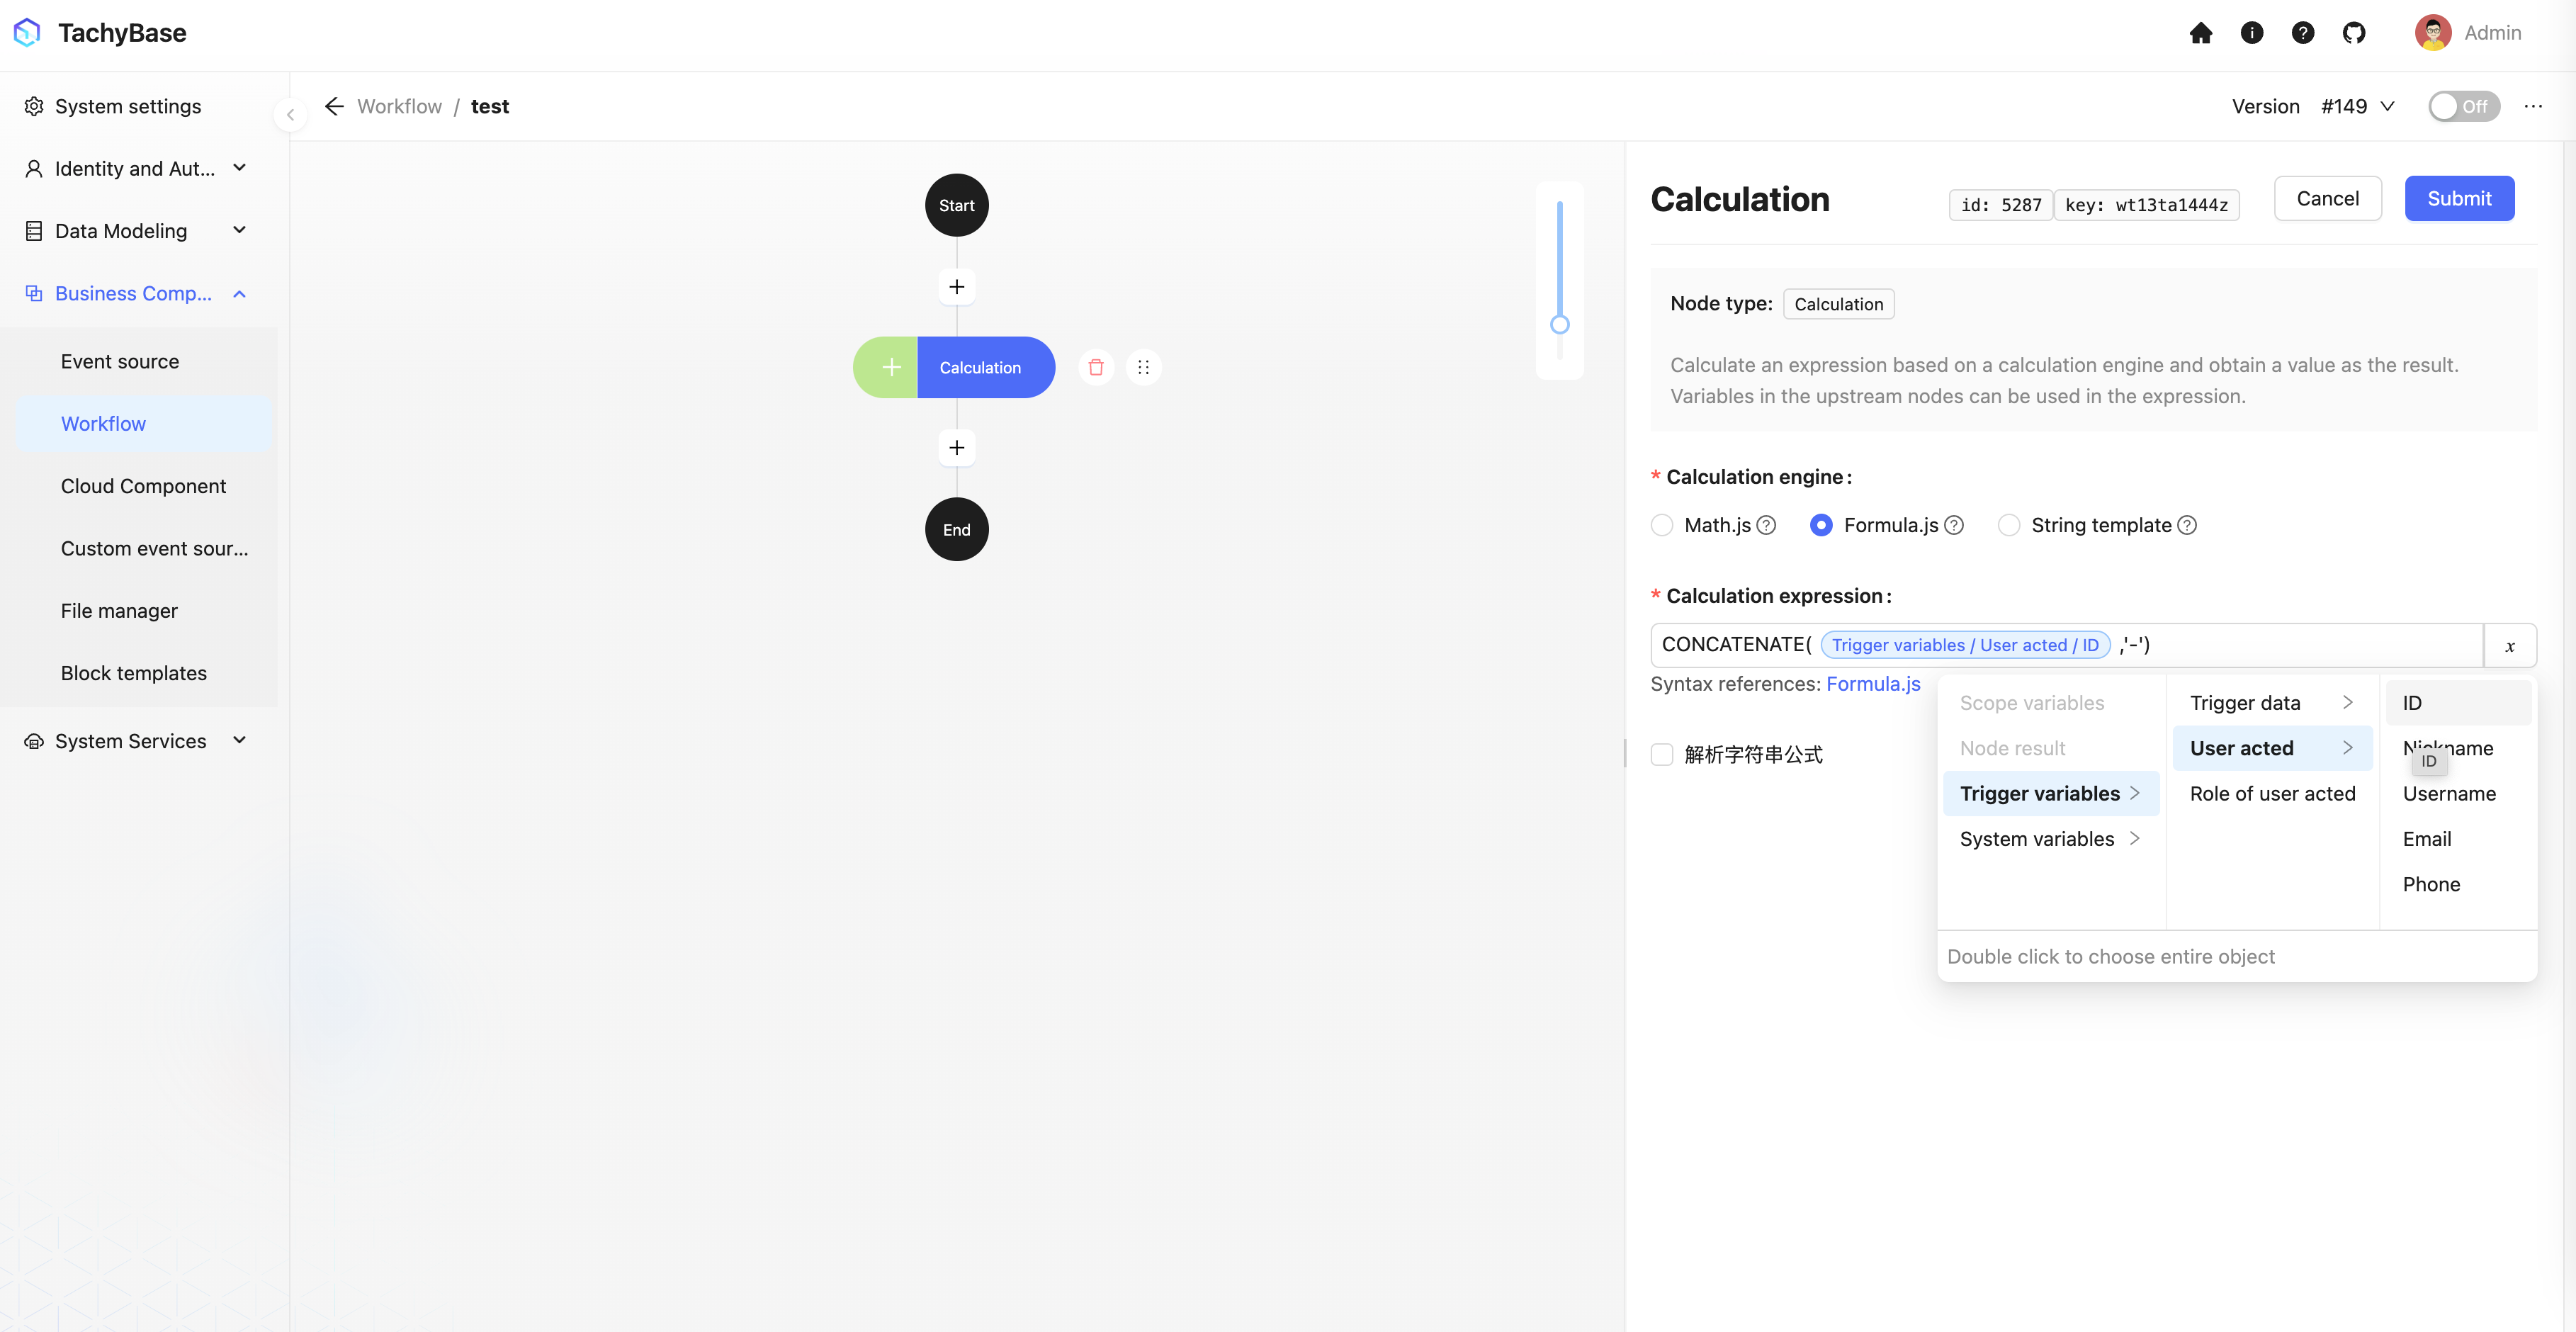
Click on the node card to open the node configuration drawer, use the calculation function CONCATENATE provided by Formula.js to concatenate the "Title" and "ID" fields. Both fields are inserted through the variable selector:
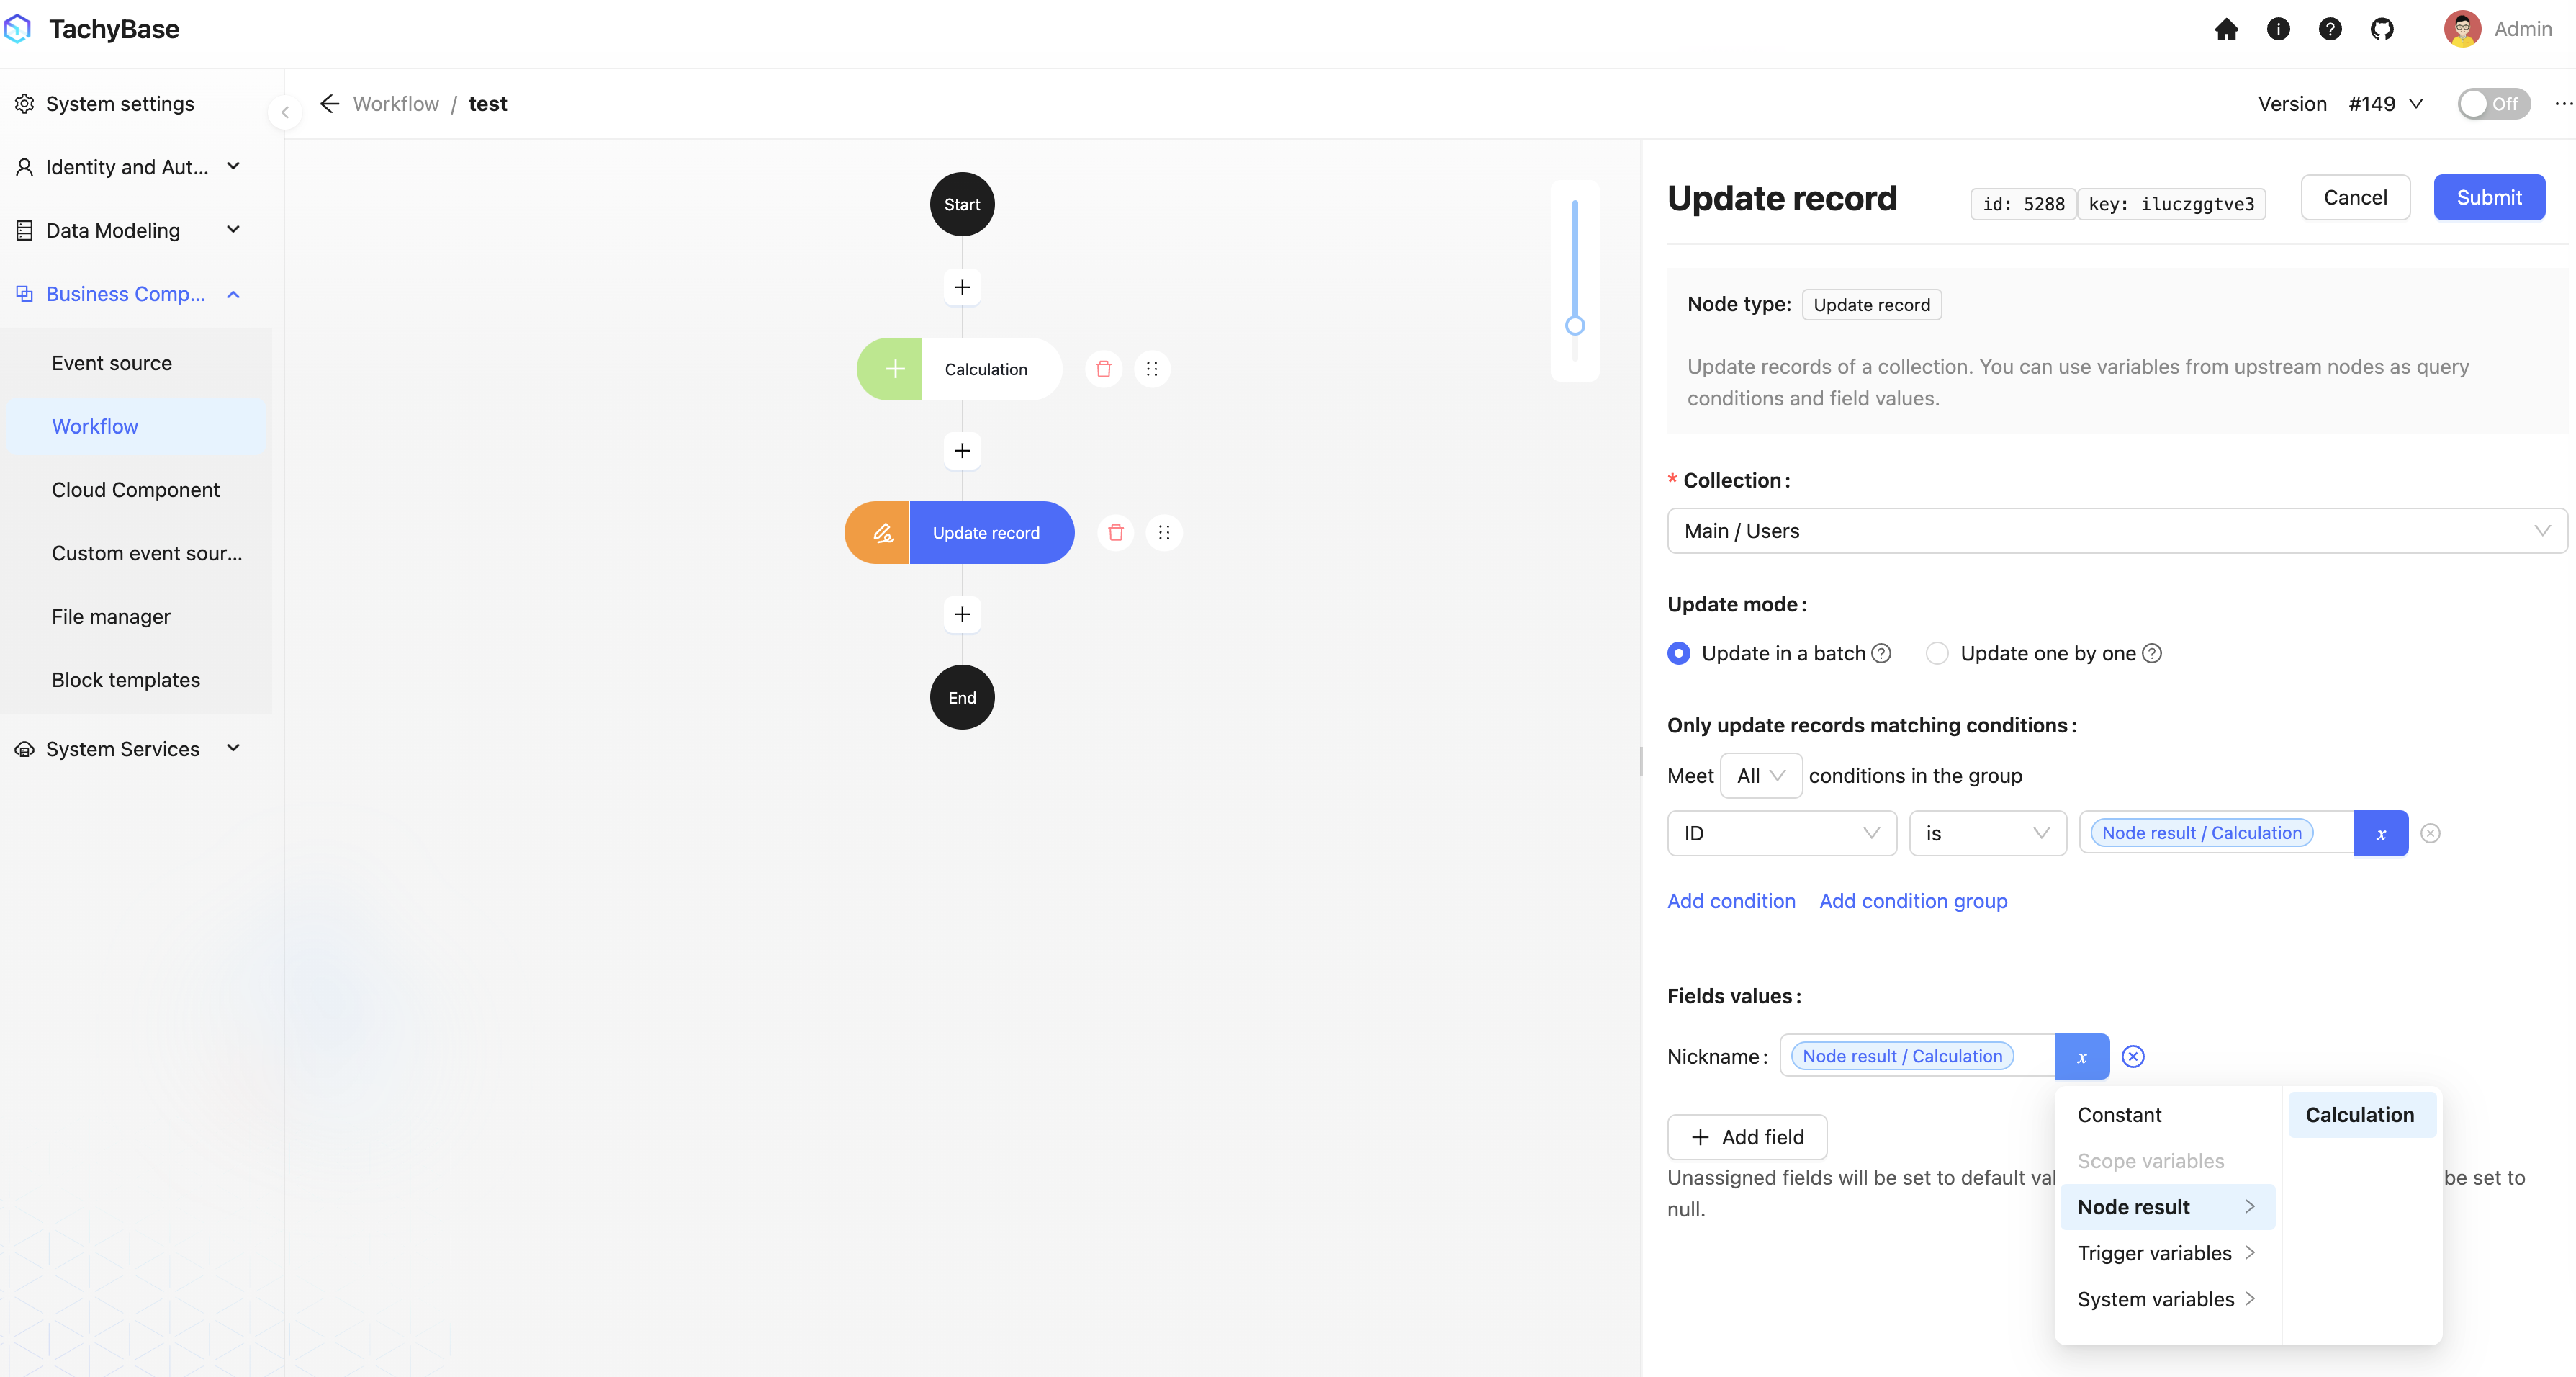
Then create an update data node to save the result in the "Title" field:
Similarly, click on the card to open the update data node configuration drawer, select the "Users" table, select the trigger data ID for the data ID to update, select "Title" for the data item to update, and select the calculation node result for the data value to update:
Finally, click the "Enable"/"Disable" switch in the toolbar at the top right to switch the workflow to the enabled state, so the workflow can be triggered and executed.
Trigger the Workflow
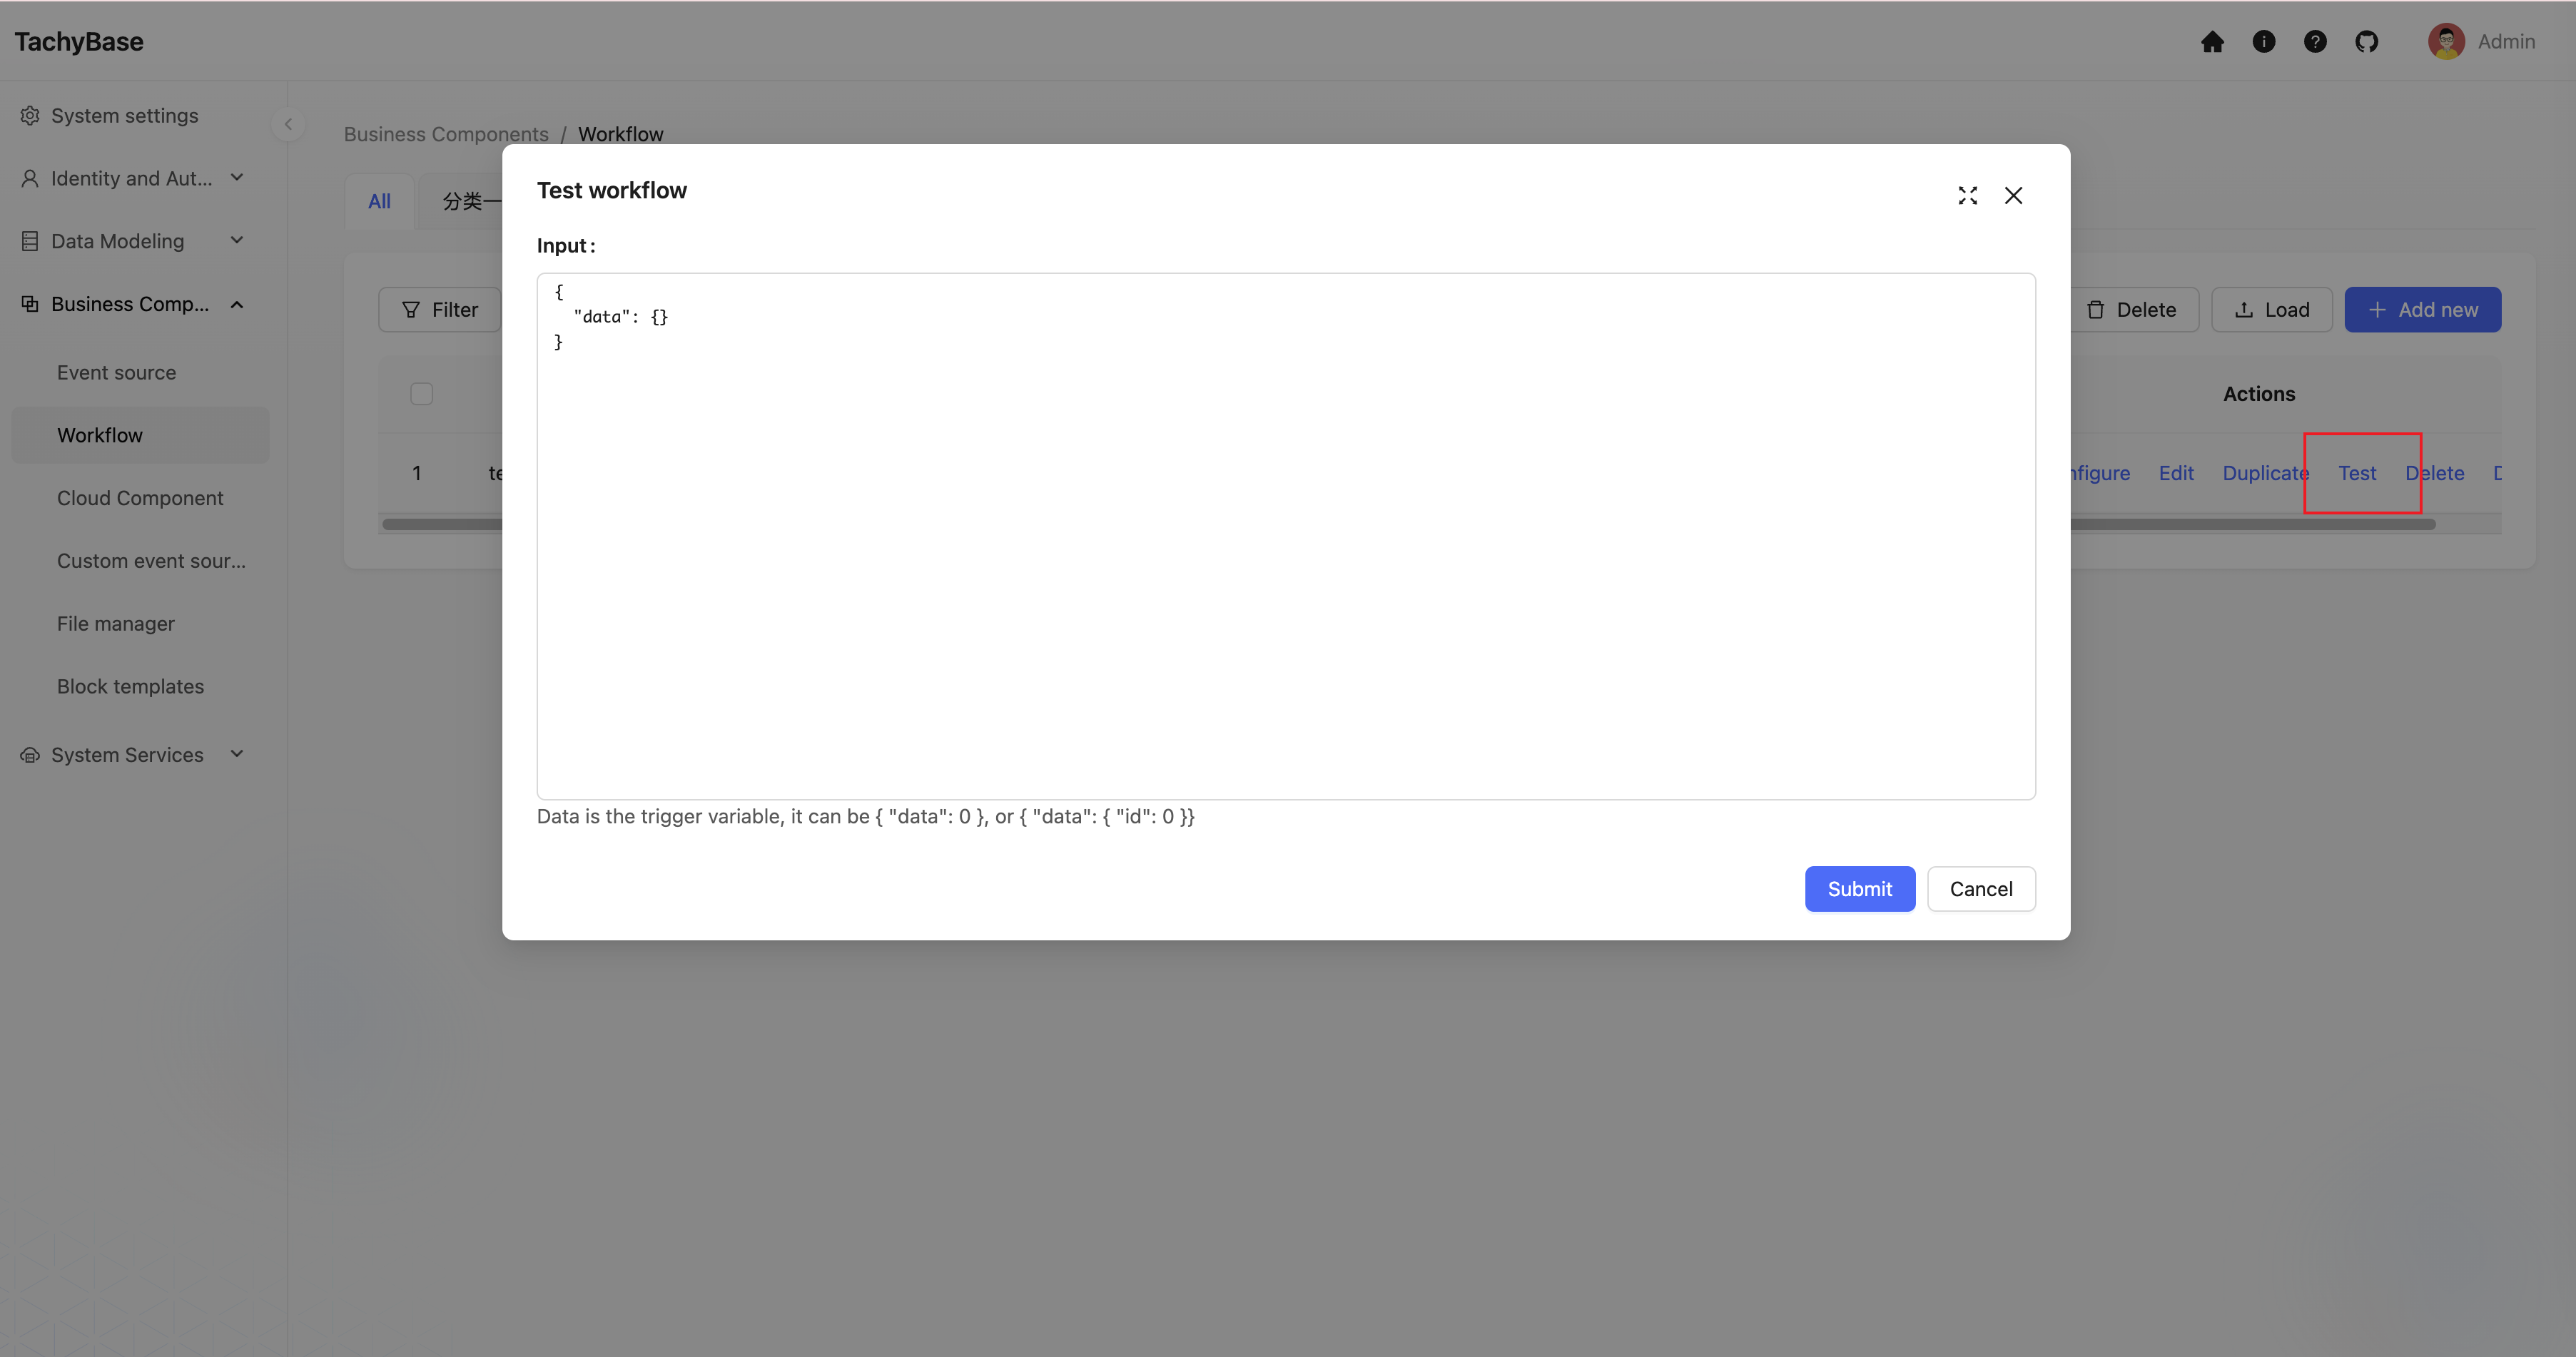
Return to the workflow list interface, click test on the right, enter the desired data or click run directly, or trigger through event source events.
View Execution History
The workflow we just ran has been successfully triggered and executed once. We can return to the workflow management interface to view the corresponding execution history:
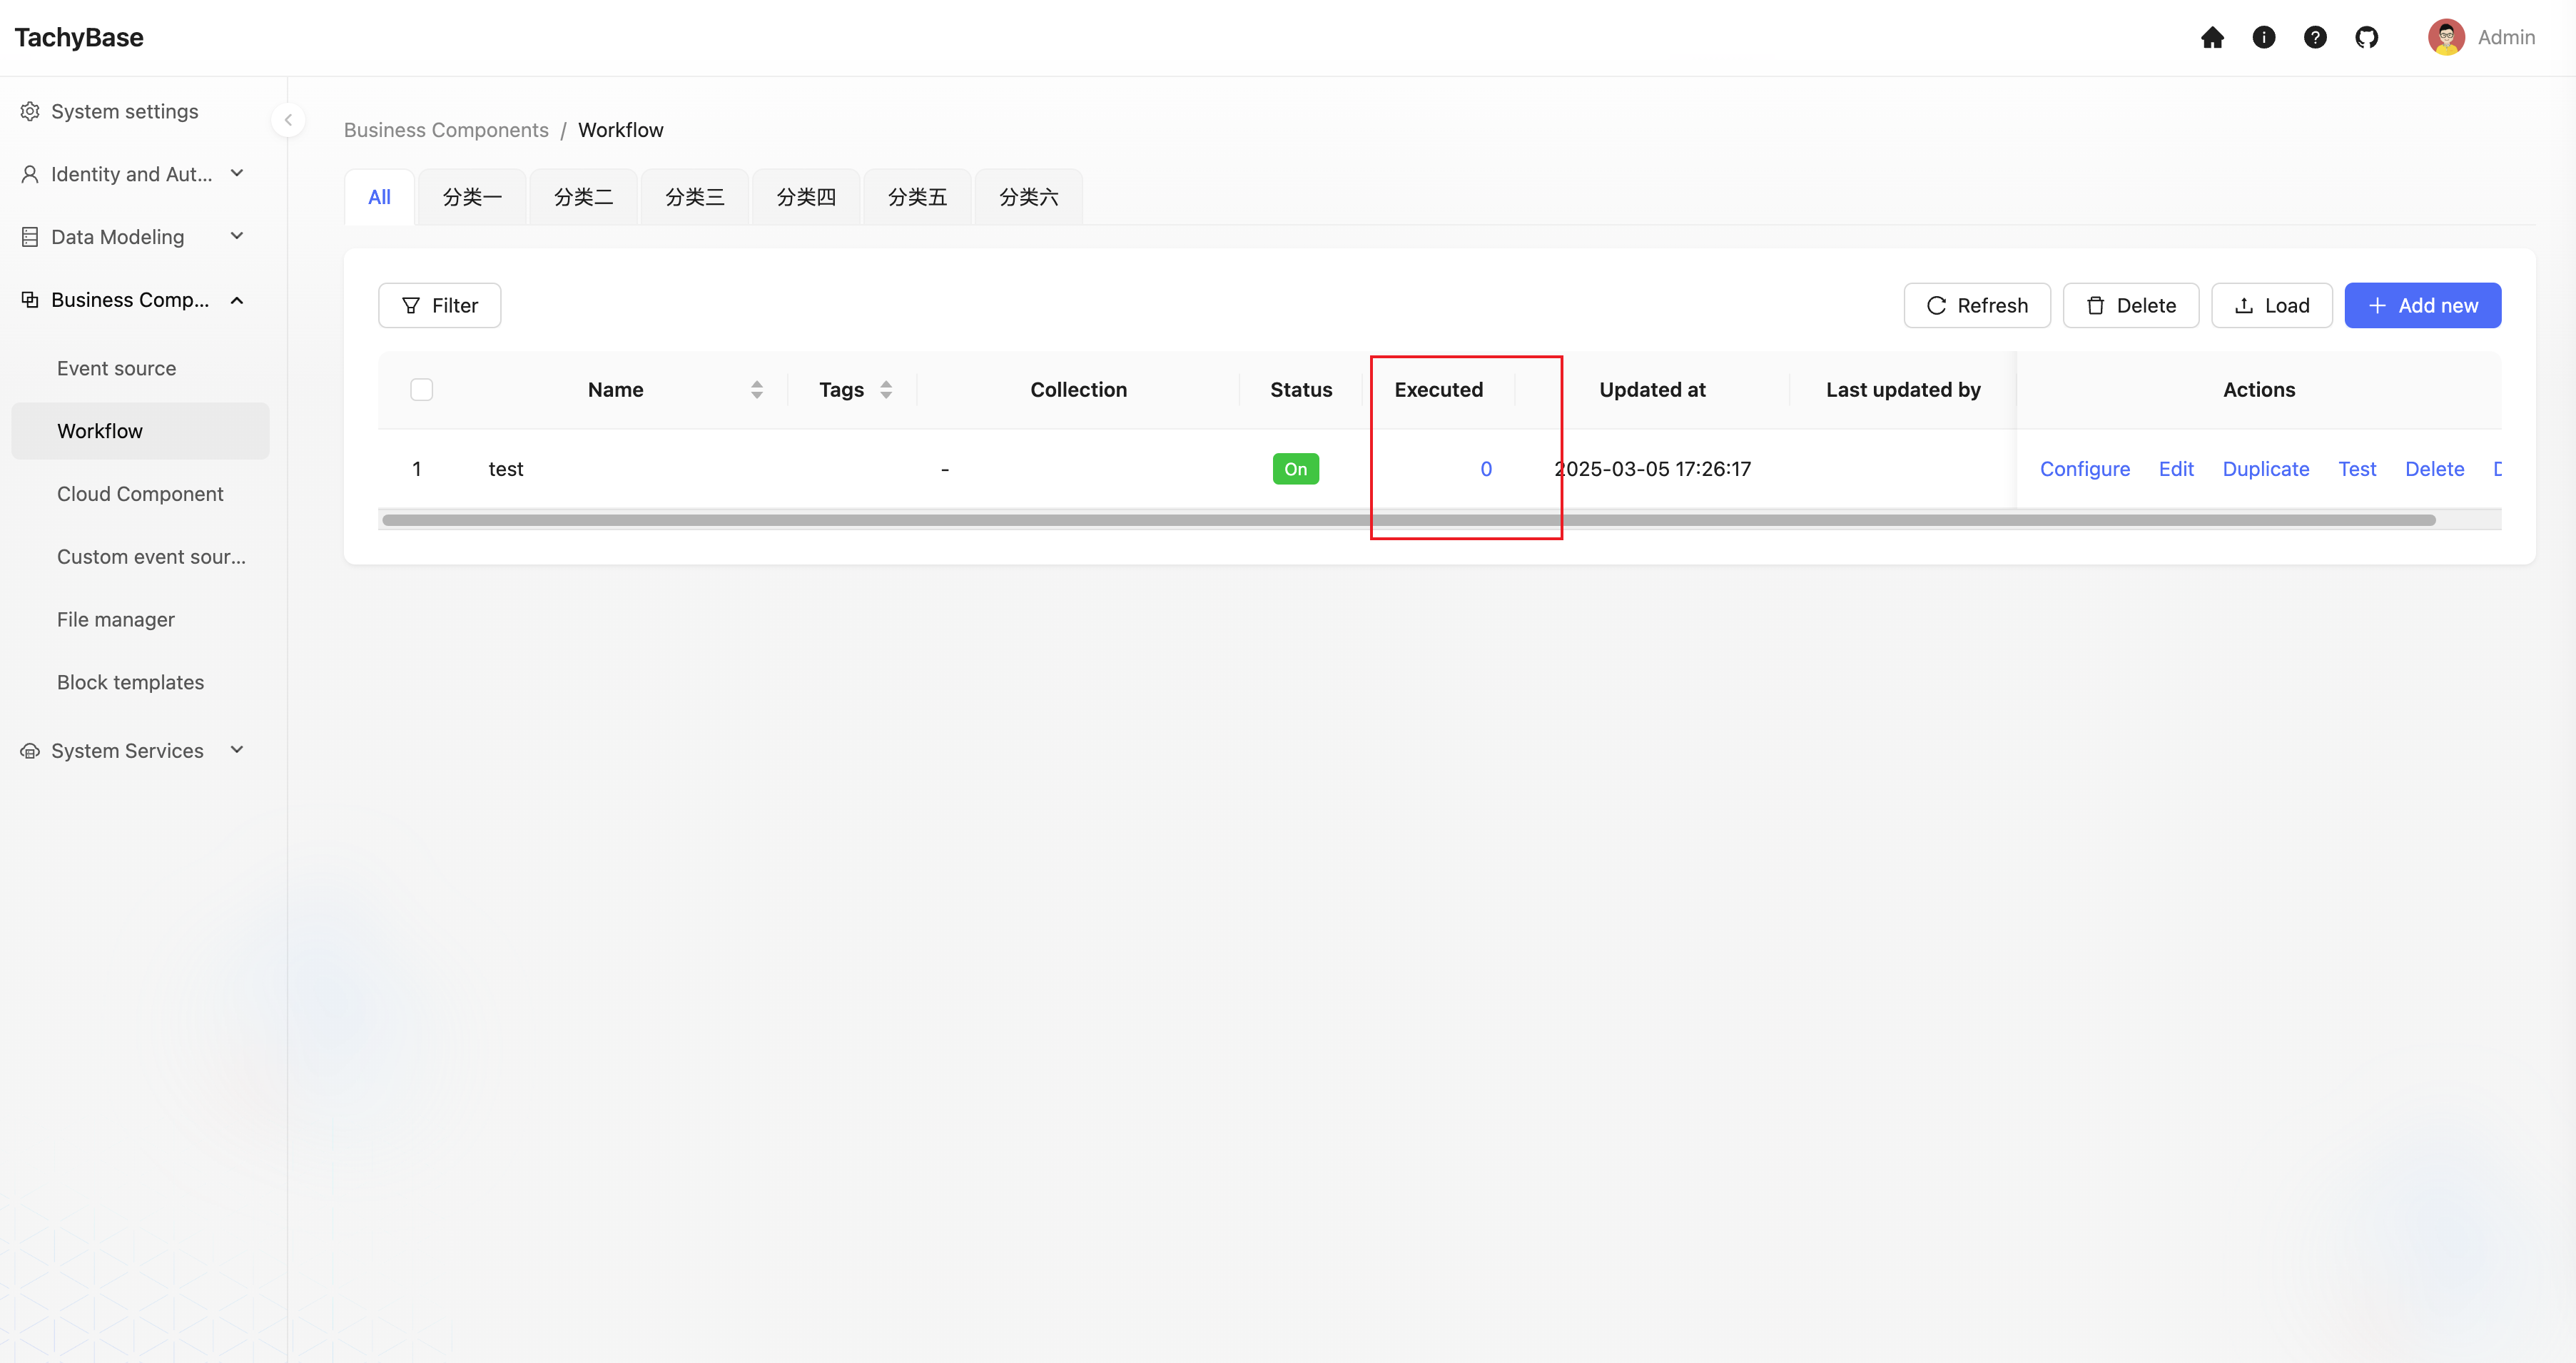
In the workflow list, you can see that this workflow has generated one execution history. Click on the count link to open the execution history records of the corresponding workflow:
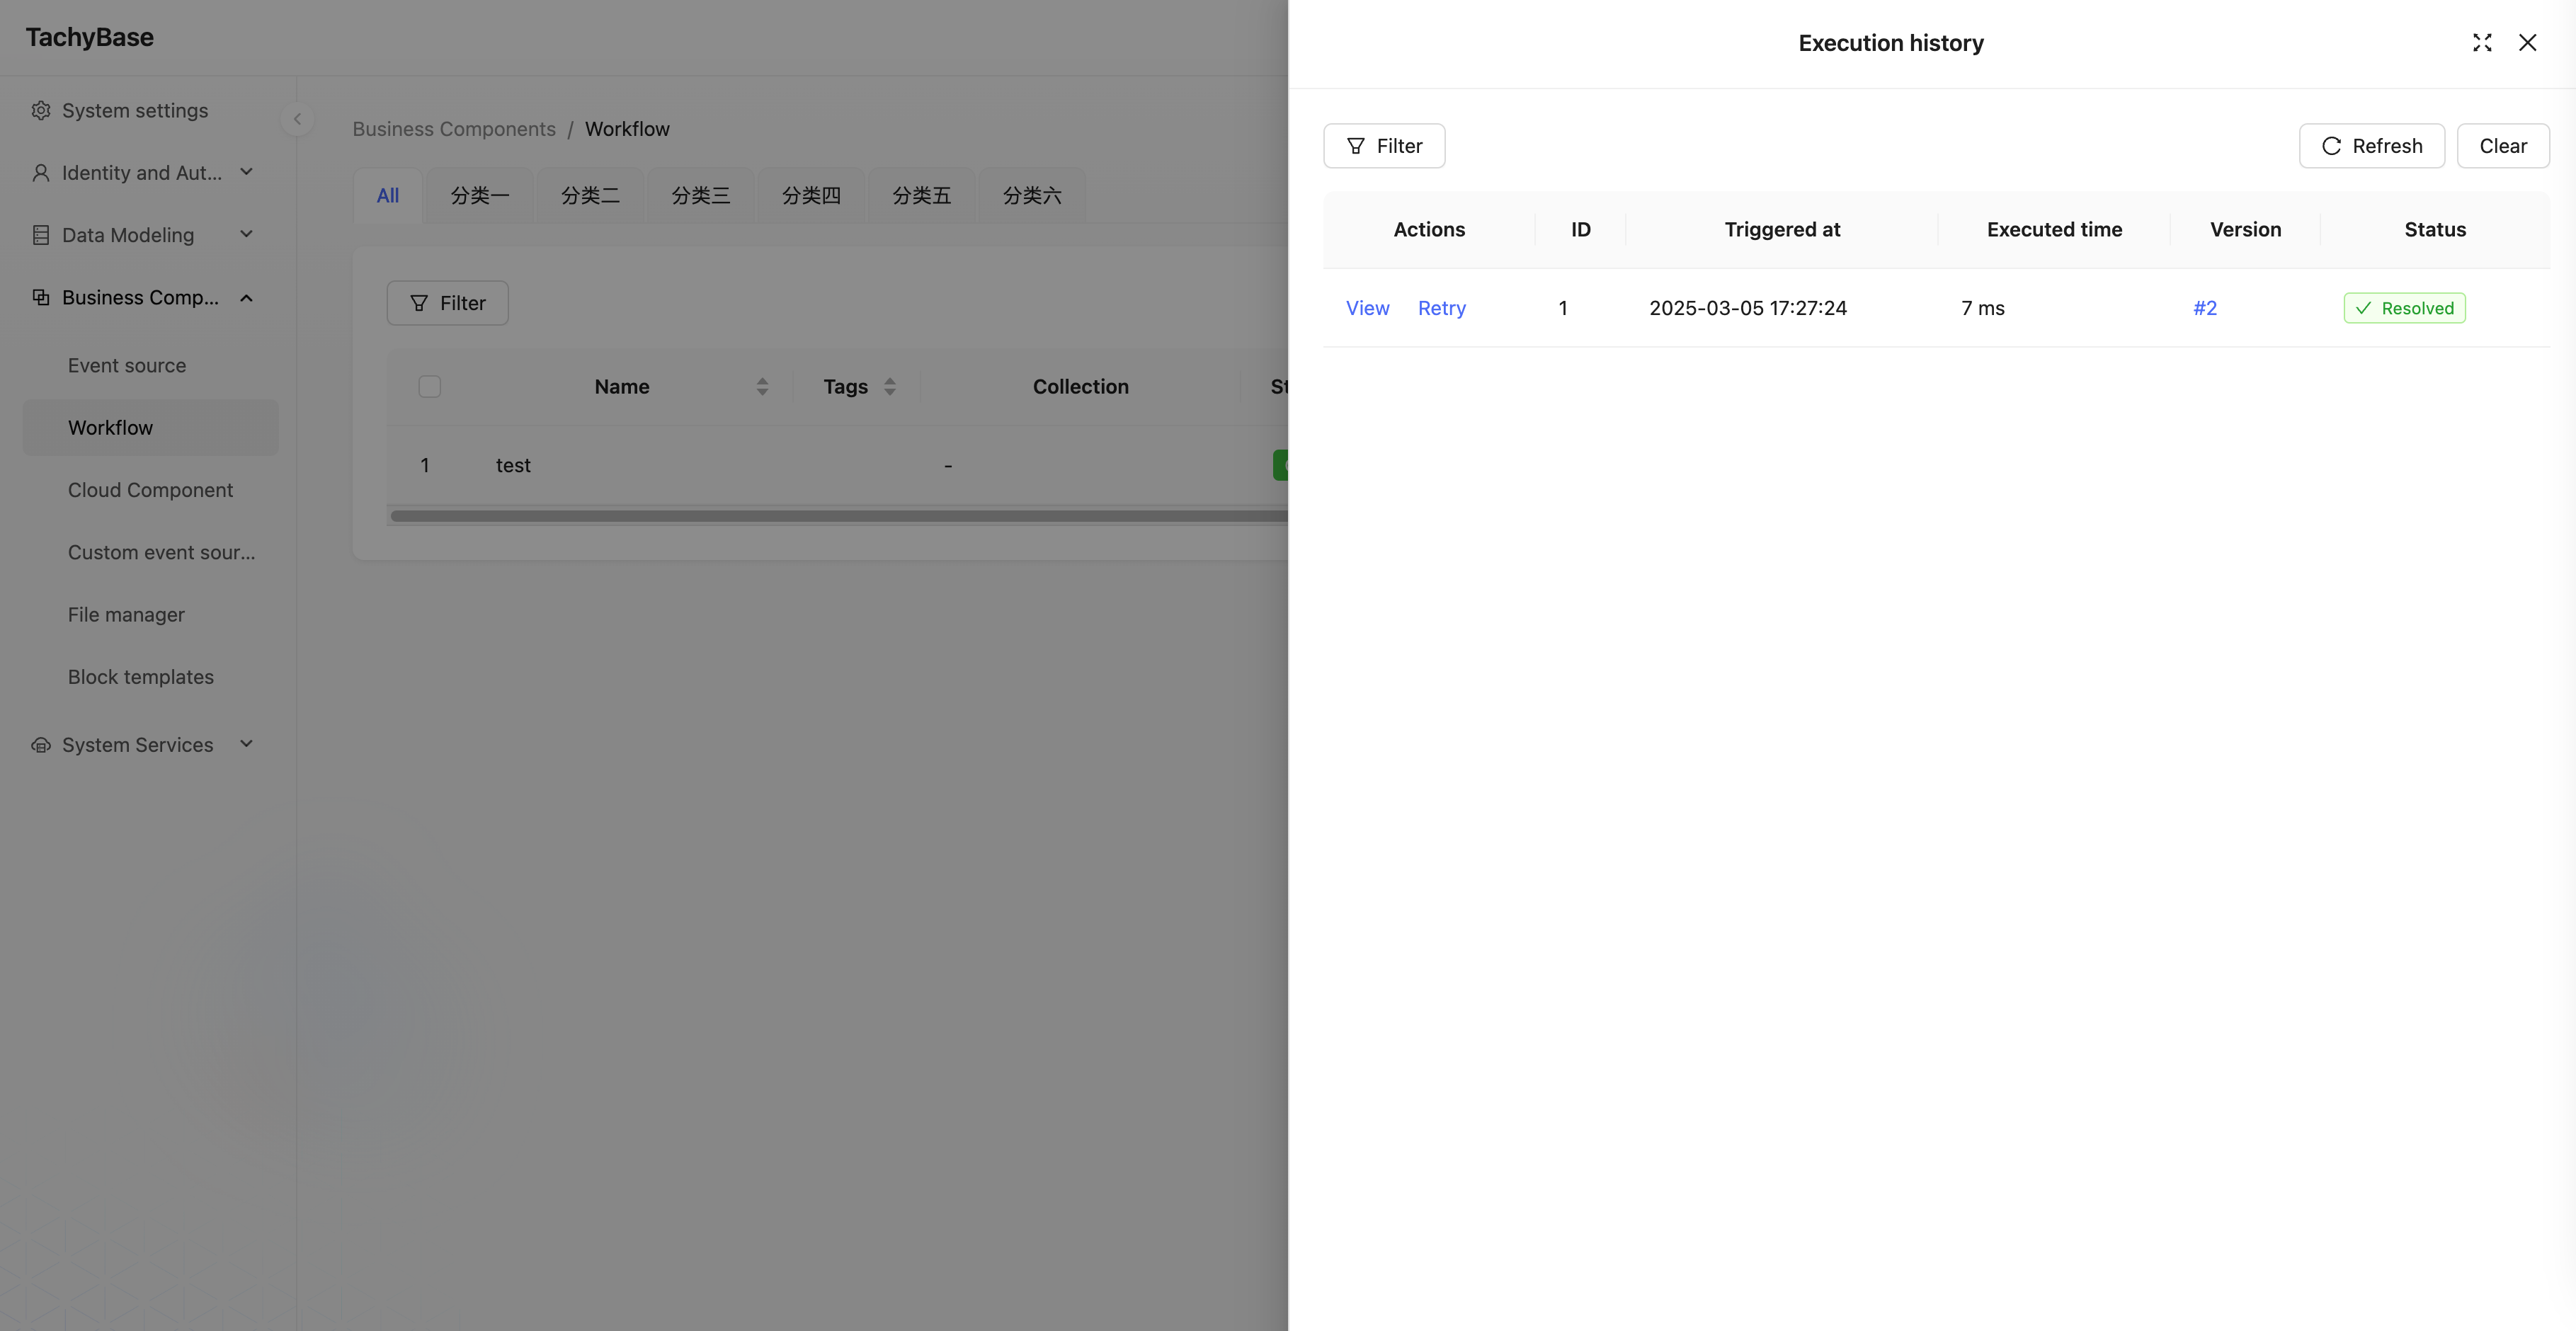
Click the "View" link again to enter the details page of that execution, where you can see the execution status and result data of each node:
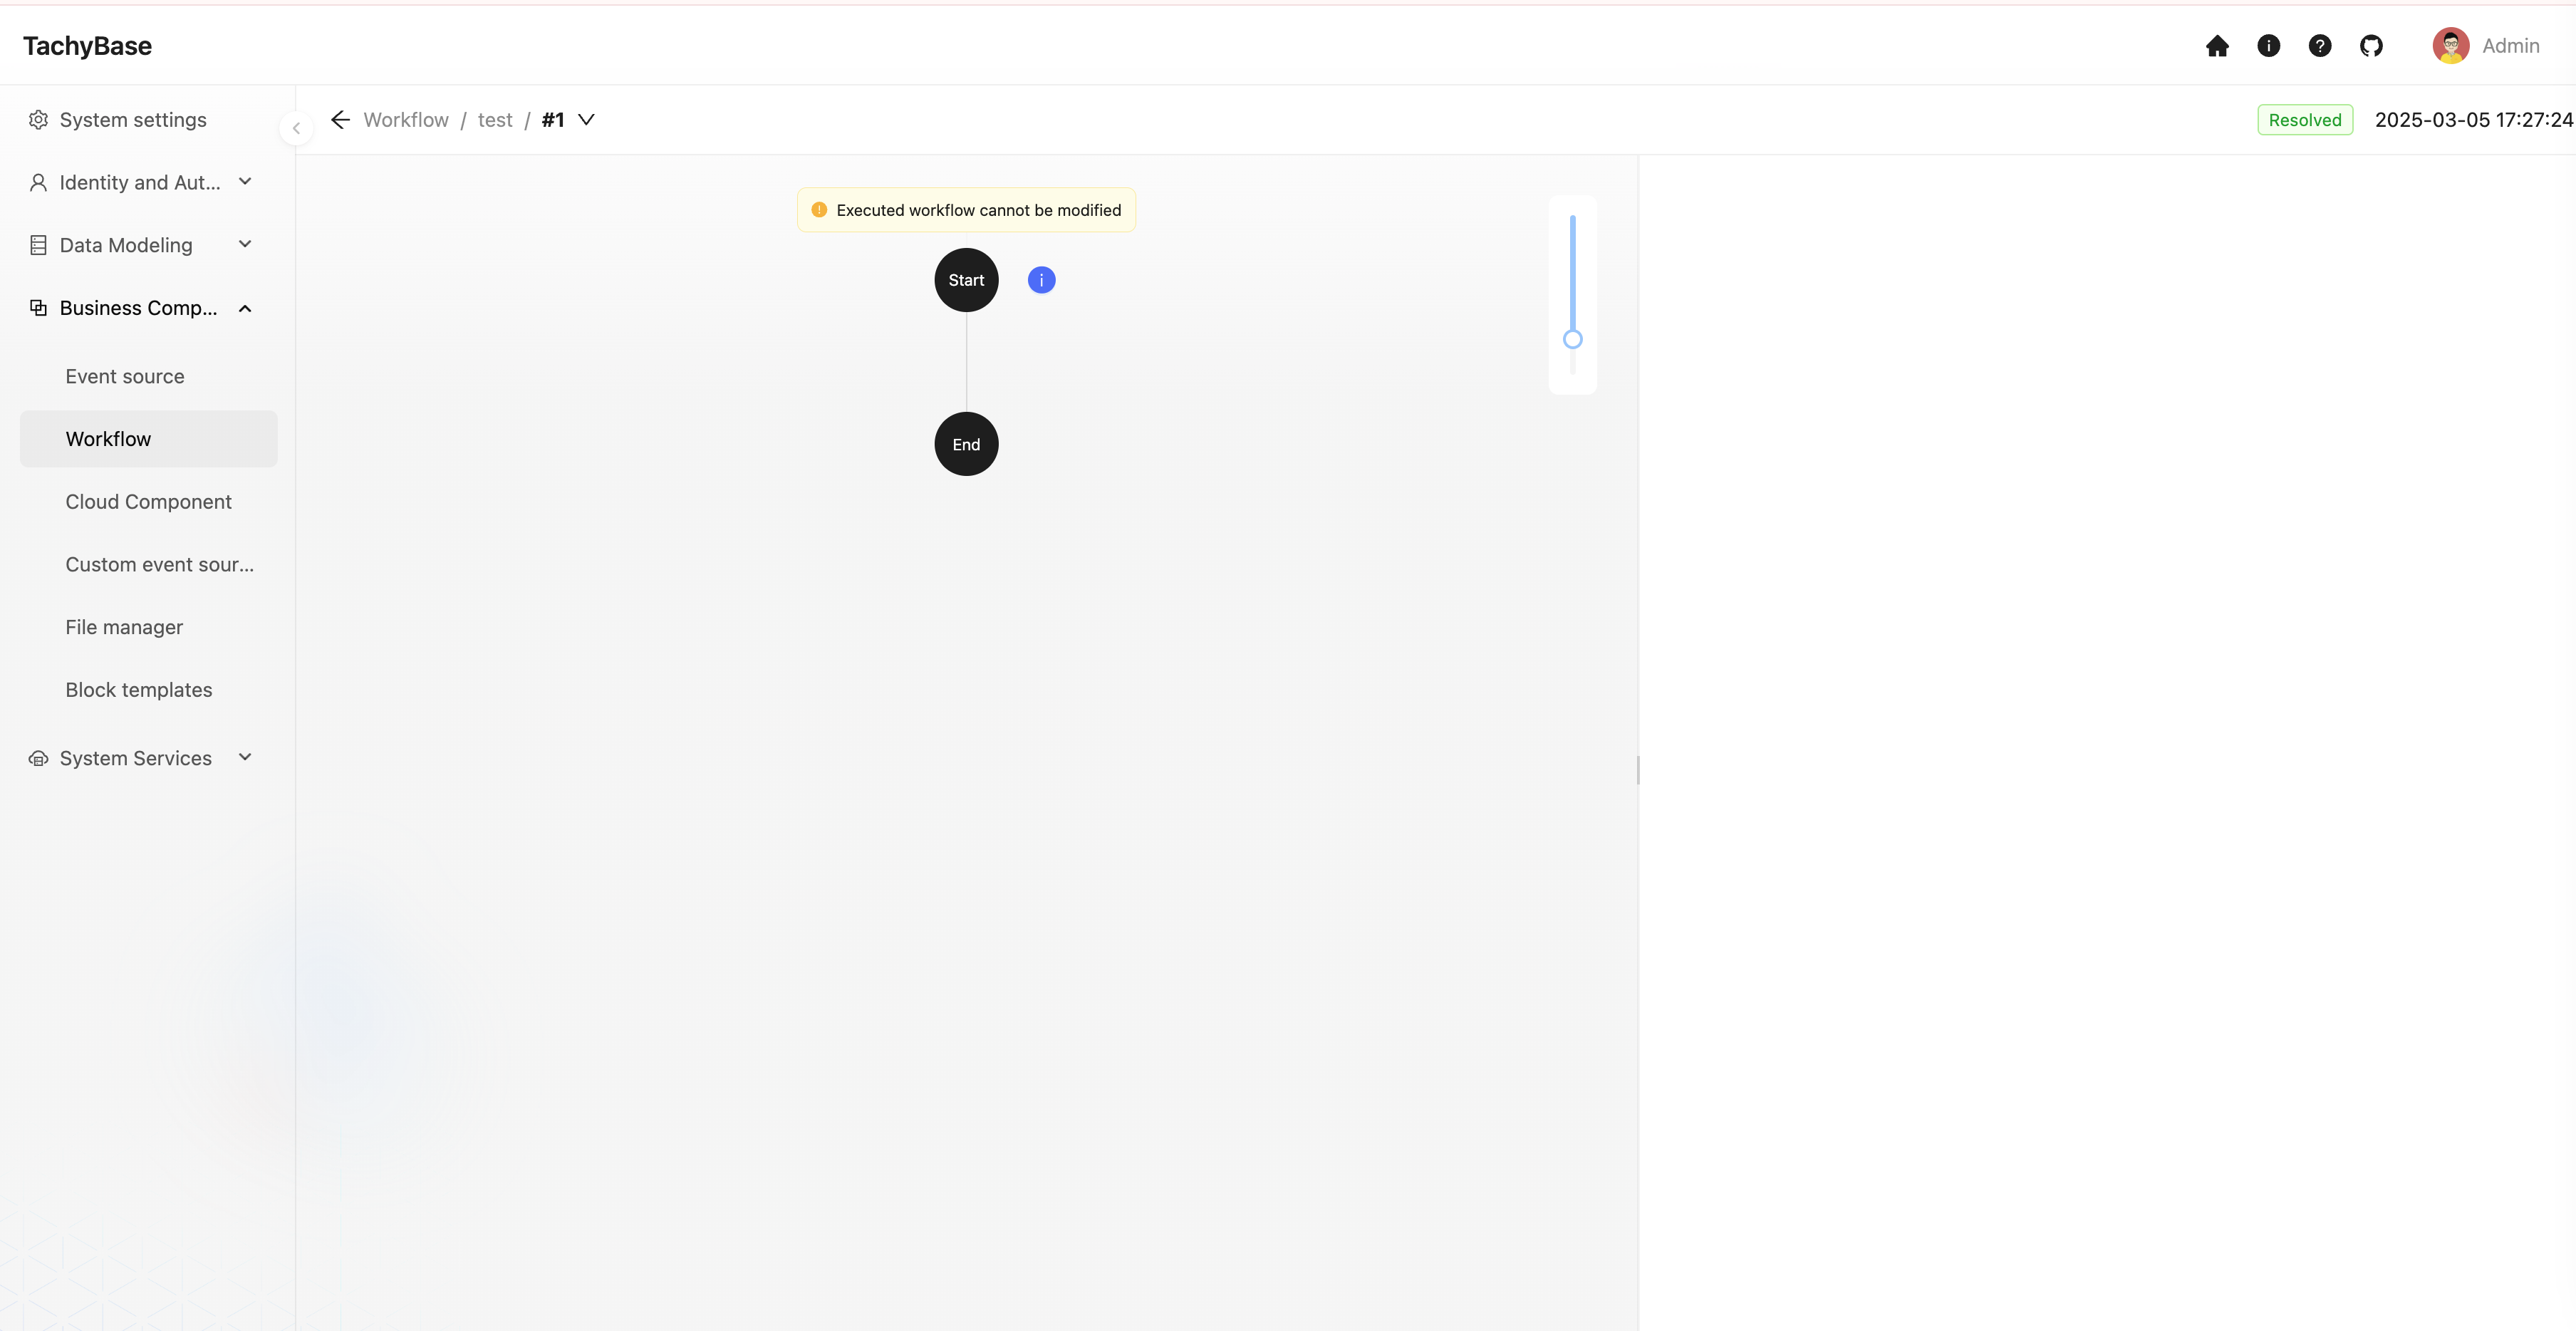
The trigger's context data and the node execution result data can be viewed by clicking the status button in the upper right corner of the corresponding card. For example, let's view the result data of the calculation node:
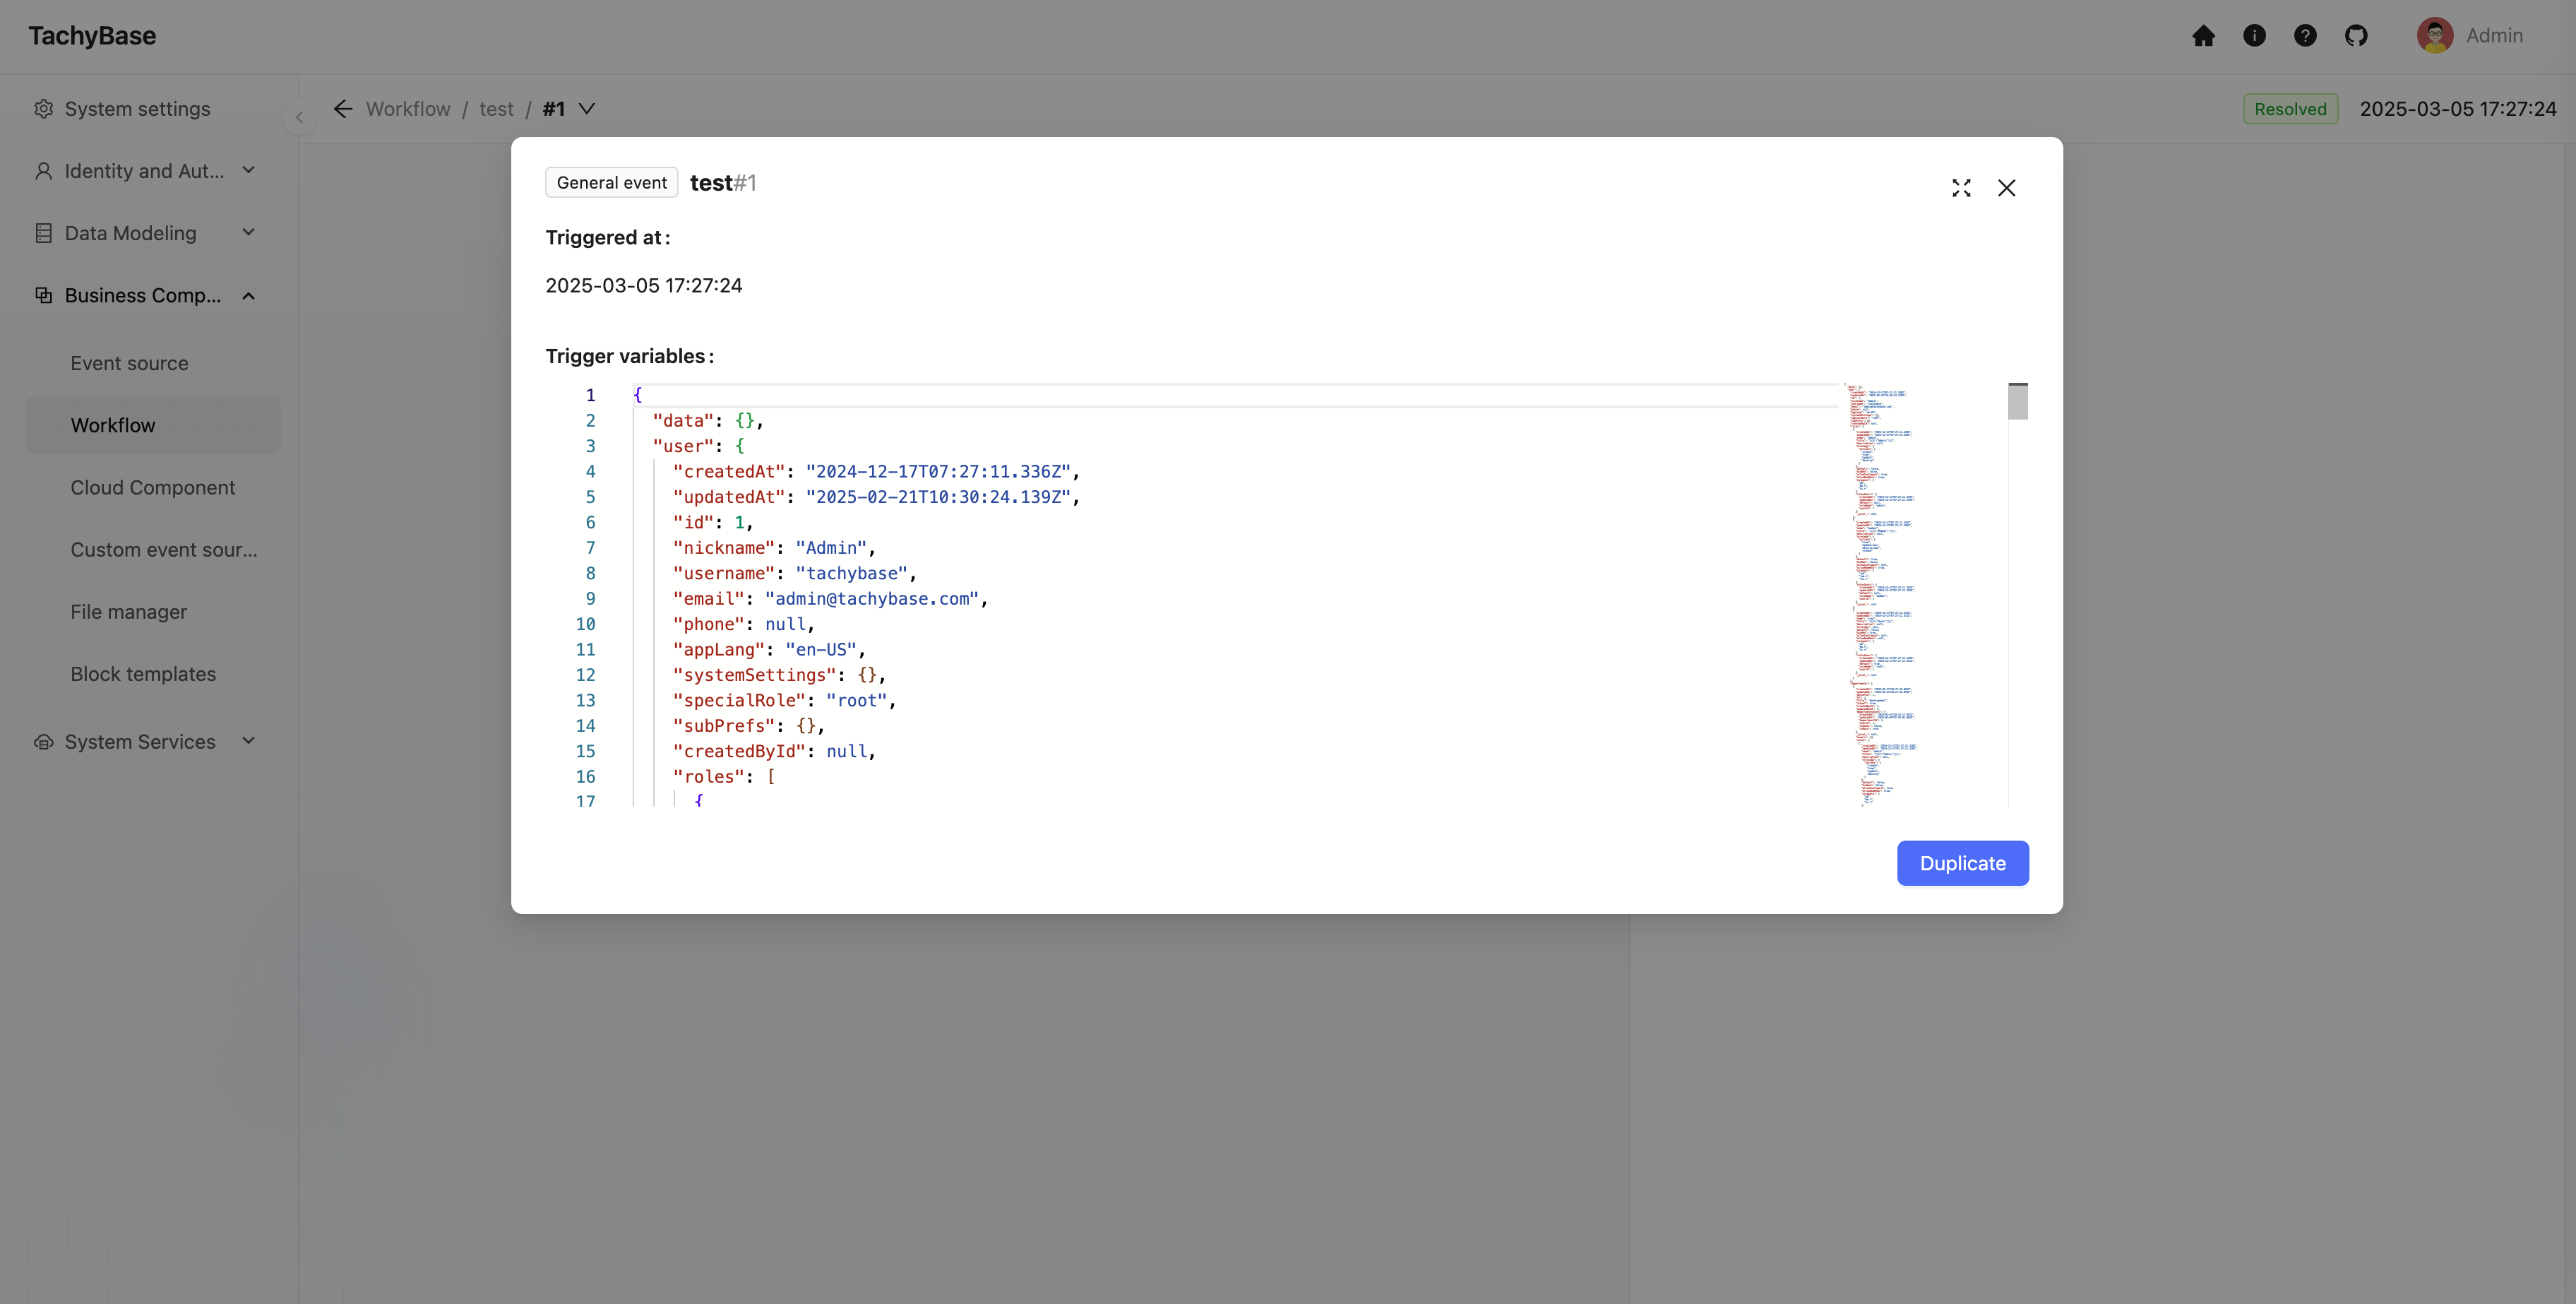
You can see that the result data of the calculation node contains the calculated title, which is the data updated by the subsequent update data node.
Summary
Through the above steps, we have completed the configuration and triggering of a simple workflow and have been introduced to the following basic concepts:
- Workflow: Used to define the basic information of a process, including name, trigger type, and enabled status, etc. Any number of execution nodes can be configured within it, and it is the entity that carries the process.
- Trigger: Each workflow contains a trigger, which can be configured as a specific condition for the workflow to be triggered, and is the entry point of the process.
- Node: A node is an instruction unit that performs specific operations within a workflow. Multiple nodes in a workflow form a complete execution process through upstream and downstream relationships.
- Execution Plan: The execution plan is the specific execution object after the workflow is triggered, also known as execution record or execution history. It contains information such as execution status and trigger context data. There are also corresponding execution results for each node, containing node execution status and result data information.